How to Schedule Instagram Reels: A 2026 Guide
If you want to schedule Instagram Reels, you have three real options: use Instagram’s native in-app scheduler for simple mobile posting, use Meta Business Suite for free desktop auto-publishing, or use a third-party Instagram scheduler for more advanced workflows. Native Instagram lets professional accounts schedule Reels up to 75 days in advance, while Meta Business Suite has a shorter scheduling window, and third-party tools help when you need things like batch planning or first-comment automation.
If you’re reading this, you’re probably in one of two situations. You’ve got a Reel ready and want to post it later without babysitting your phone, or you’re trying to turn scheduling into an actual workflow instead of a daily scramble. Those are different problems, and they need different tools.
A lot of guides blur them together. That’s why people end up wondering why the schedule button is missing, why one tool only lets them plan a few weeks out, or why a Reel publishes without the comment or audio setup they expected. The practical answer is that how to schedule Instagram Reels depends on whether you need quick mobile scheduling, free desktop control, or a system that fits a content operation.
Table of Contents
- The Three Ways to Schedule Instagram Reels
- How to Use Instagram’s Native Reel Scheduler
- Using Meta Business Suite for Auto-Publishing
- Unlocking Advanced Workflows with Third-Party Schedulers
- Essential Best Practices for Scheduled Reels
- Frequently Asked Questions About Scheduling Reels
The Three Ways to Schedule Instagram Reels
There are really only three workflows that matter.
Instagram native scheduling is the fastest if you’re posting from your phone and only need to queue a Reel occasionally. It’s built into the app, but only for professional accounts. If your process is lightweight, this is usually enough.
Meta Business Suite works better when you want a free desktop workflow for Instagram and Facebook together. It’s more useful for marketers who prefer managing captions, uploads, and calendars from a larger screen instead of inside the app.
Third-party schedulers are for teams and repeatable systems. They become useful when you’re managing multiple channels, repurposing long videos into short clips, or trying to keep publishing organized across a broader content calendar. If you’re also working on producing engaging video reels, the scheduling tool matters less than the workflow around it.
Practical rule: Pick the tool based on the bottleneck. If the bottleneck is “I forget to post,” native works. If the bottleneck is “I need a real calendar,” use Meta. If the bottleneck is “I need a system,” use a third-party tool.
If you want a broader scheduling framework beyond Instagram, this guide on how to schedule social media posts is a useful companion.
How to Use Instagram’s Native Reel Scheduler
Who this method is for
Instagram’s built-in scheduler is the cleanest option when you want to upload a Reel and set it live later from your phone. It works directly inside the mobile app, and according to Minta’s walkthrough of Instagram Reel scheduling, Reels can be scheduled up to 75 days in advance. The same guide notes that the scheduling toggle appears under Advanced Settings on iOS or More Options on Android, and that the feature is only available for Professional accounts.
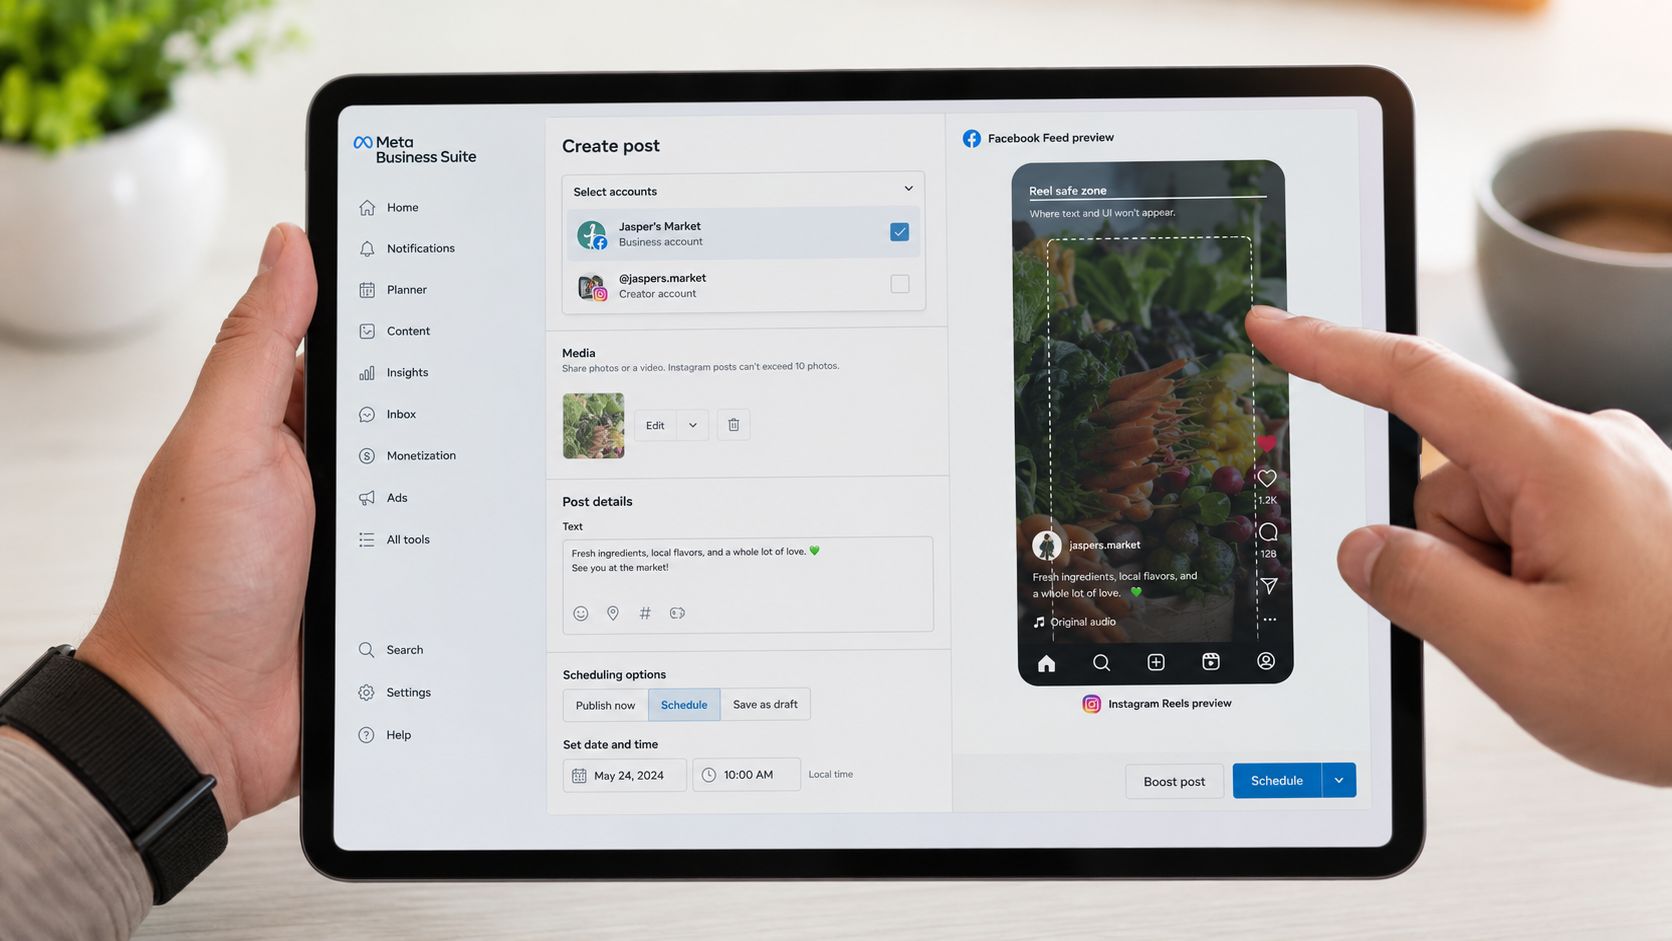
That last point trips people up all the time. If you’re on a personal account, the scheduling toggle won’t show. It isn’t hidden. It is not available.
The exact native scheduling steps
From the final pre-publish screen in Instagram, do this:
- Create your Reel and get all the way to the final sharing screen.
- Scroll down and open Advanced Settings on iOS or More Options on Android.
- Toggle on Schedule this Reel.
- Pick the date and time you want.
- Tap Done to confirm the selected time.
- Go back and tap the final Schedule button.
That final tap matters. A step-by-step walkthrough from SocialPilot’s scheduling guide notes that the Reel stays pending after you schedule it, and that the native workflow has a limitation many people don’t like: if you need to fully change the scheduled Reel, you may need to delete it and recreate it.
If you need sizing help before you upload, this reference on Instagram Reel dimensions helps prevent formatting mistakes that show up after publishing.
Here’s a visual walkthrough if you want to see the in-app flow before you tap around:
What native scheduling does not handle well
Native scheduling is convenient, but it’s narrow.
- No desktop-first workflow: Everything happens in the mobile app.
- No first comment scheduling: You can queue the Reel, but not the comment strategy that often goes with it.
- Limited flexibility after scheduling: If something changes, native editing can be clunky.
- No real batch workflow: It works best when you’re scheduling one Reel at a time.
Native is good for execution. It’s not great for operating a content system.
Using Meta Business Suite for Auto-Publishing
When Meta Business Suite makes more sense
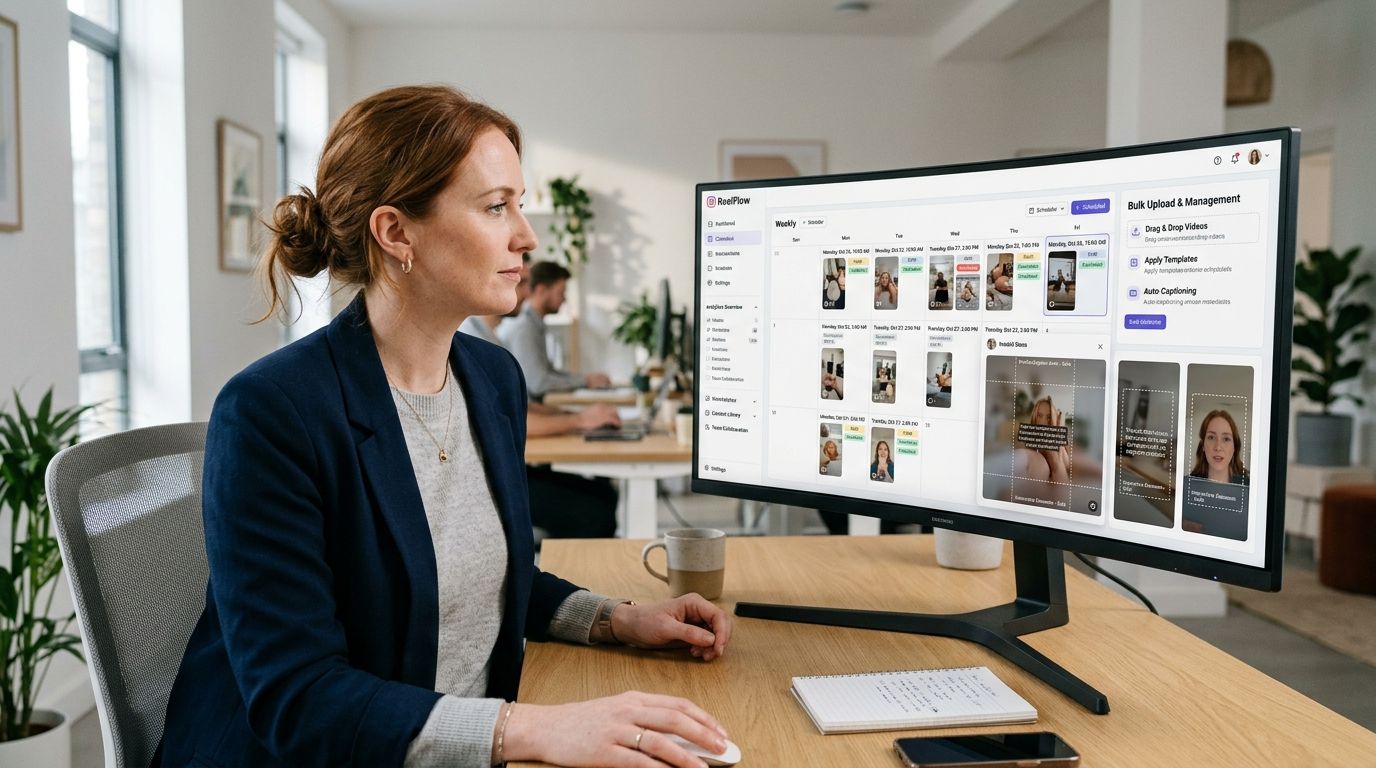
Meta Business Suite is the free option for people who want more control without paying for another platform. If you manage both Instagram and Facebook, it’s usually the easiest way to keep those channels on one calendar and schedule from desktop.
That matters for teams that write captions collaboratively, review cover images on a bigger screen, or prefer building content calendars in one place instead of one post at a time on a phone.
How the workflow looks
Inside Meta Business Suite, the typical process is straightforward:
- Connect your accounts: Make sure your Instagram profile is connected properly.
- Open the planner or create flow: Start a new Reel from the dashboard.
- Upload the video: Add your media, caption, and cover settings.
- Choose a date and time: Confirm the schedule and let Meta auto-publish it.
For many B2B marketers, this is the first workflow that feels manageable. You can review posts from desktop, line them up on a calendar, and handle Instagram and Facebook in one place.
If your content lives in documents, review threads, and shared folders before it becomes a Reel, Meta Business Suite usually feels more practical than native app scheduling.
The trade-off that matters
The main downside is the planning window. A walkthrough on YouTube covering the scheduling split between native Instagram and Meta Business Suite points out the important gap: native Instagram can schedule up to 75 days ahead, while Meta Business Suite only goes to 29 days.
That difference matters more than it sounds.
Here’s where each one fits best:
| Workflow need | Better option |
|---|---|
| Quick mobile scheduling | Instagram native |
| Free desktop management | Meta Business Suite |
| Long-range planning beyond Meta’s window | Native or third-party |
| Cross-channel content ops | Meta or third-party |
For B2B teams, podcasters, and marketers repurposing long-form video into multiple short clips, that shorter Meta window can become a real planning constraint.
Unlocking Advanced Workflows with Third-Party Schedulers
Third-party schedulers make sense when Reels are part of a content operation, not a one-off post from a phone. The value is not just scheduling. It is handling clipping, approvals, captions, publishing, and reporting in one system.
That difference shows up fast for teams working from webinars, podcasts, interviews, and product demos.
What third-party tools actually add
The biggest gain is control over the workflow around the Reel, not only the publish date. In practice, these tools are useful for teams that need to:
- Batch schedule content: Prepare and queue multiple Reels in one session.
- Run cross-channel calendars: Plan Instagram alongside TikTok, YouTube Shorts, LinkedIn, or Facebook.
- Manage approvals: Keep draft reviews, caption edits, and sign-off in one place.
- Repurpose long-form video: Turn one source asset into several clips without rebuilding the process each time.
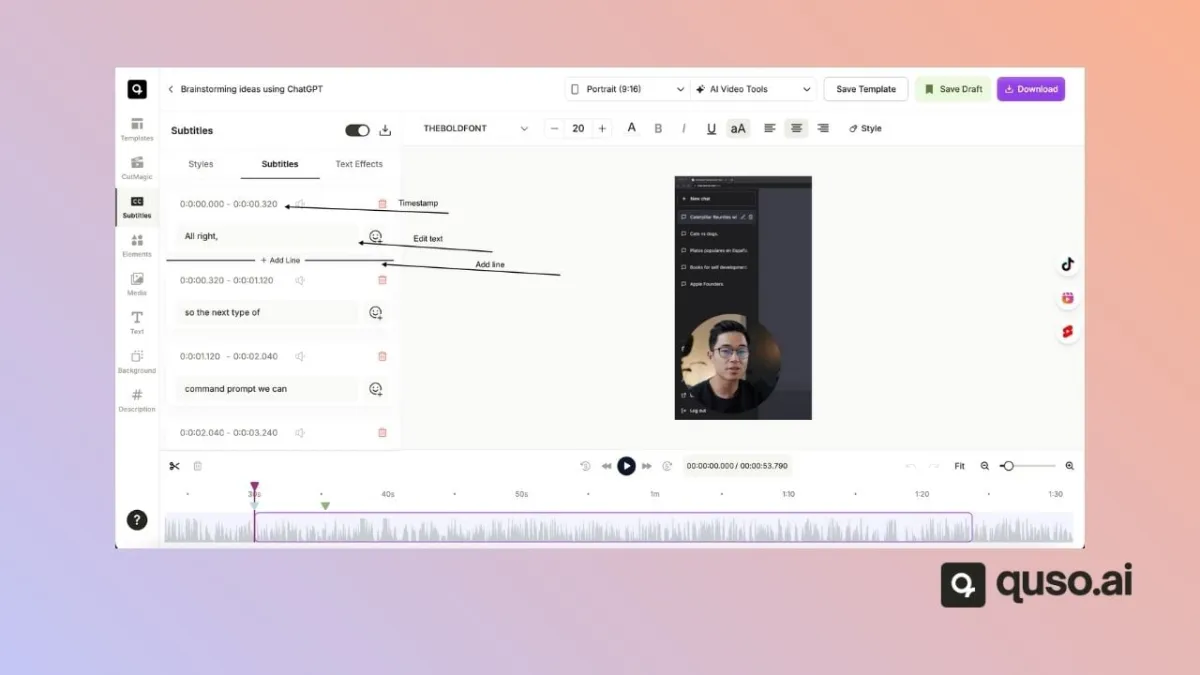
For example, quso.ai fits teams that start with long-form video and need to cut it into short clips, add captions, and schedule distribution as part of the same workflow. That setup is useful if the bottleneck is production volume, not just clicking Publish.
The trade-off is cost and complexity. If you only schedule a few Reels each week, native Instagram or Meta Business Suite is often enough. If several people touch each post before it goes live, a third-party tool usually saves time and reduces handoff mistakes.
Where first-comment scheduling changes the workflow
A lot of scheduling guides stop at the Reel itself. In practice, many social teams also need to schedule the first comment for hashtags, tagged partners, giveaway terms, or campaign references that do not belong in the main caption.
Planable’s guide to scheduling Instagram Reels points out that first-comment scheduling is a common creator workflow, and it is one of the clearest gaps in native tools. Instagram and Meta Business Suite can handle the Reel, but they do not fully cover the full post package many teams need.
That matters most when you are comparing the three workflows side by side. Native Instagram gives you the longest scheduling window. Meta Business Suite gives you a stronger desktop workflow. Third-party schedulers usually help most with team process, cross-platform planning, and first-comment handling.
If your publishing process includes approvals, repurposing, and comment-level setup, third-party tools solve problems the native options still leave behind.
Essential Best Practices for Scheduled Reels
Get the file setup right first
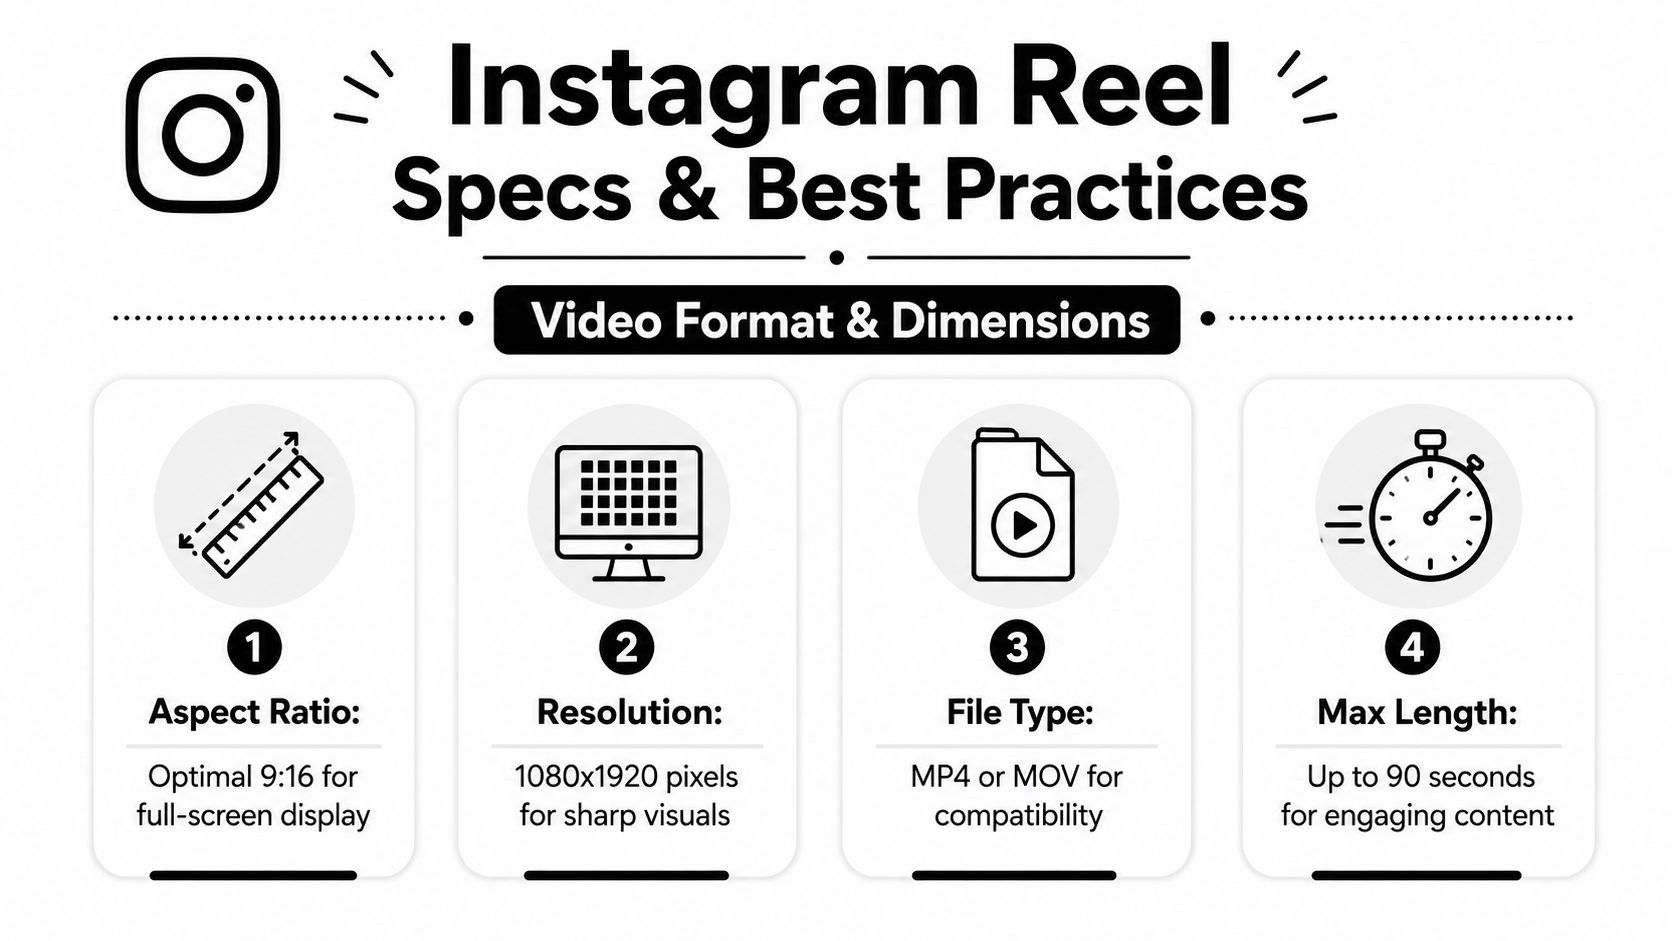
A lot of failed auto-publishing comes down to file prep, not the scheduler. According to SocialBee’s guide to scheduling Reels, third-party compatibility typically requires MP4 or MOV files and a minimum resolution of 1080×1920 for native auto-publishing support.
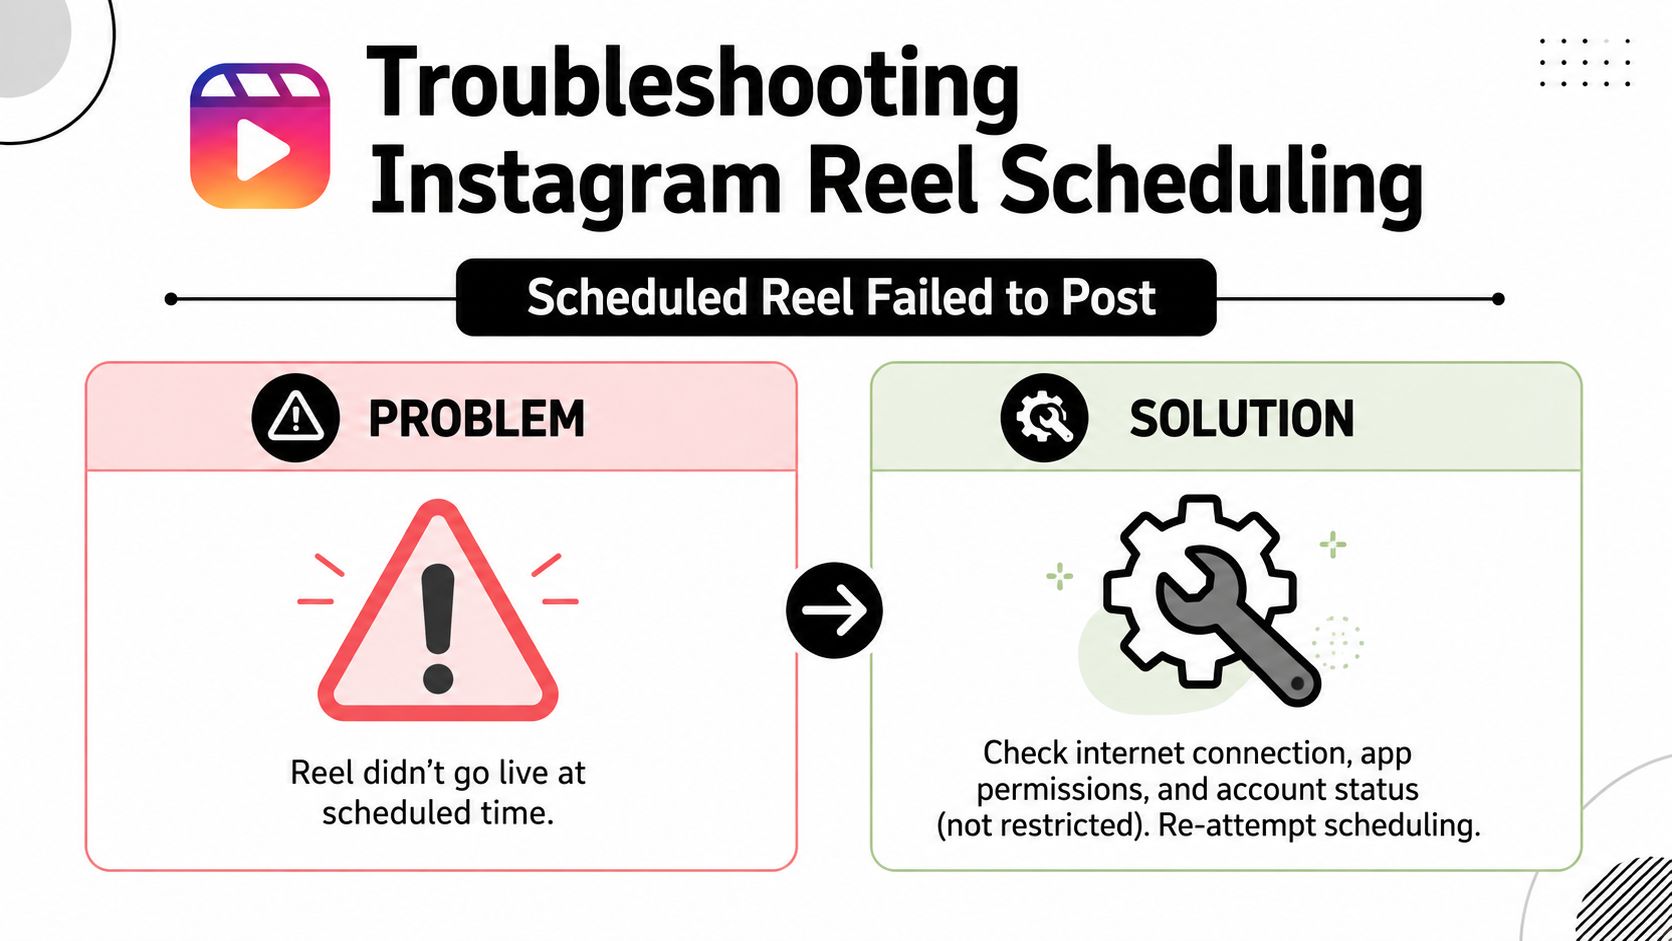
If your export doesn’t match those specs, some tools fall back to notification-based workflows instead of direct publishing. That’s not always obvious until posting time.
Avoid the trending audio trap
If you edit a Reel externally and bake trending audio into the exported file, Instagram can treat that audio differently than sound selected from its own library. A breakdown from Your Social Team’s Reel scheduling article says this mismatch can lead to muted or flagged Reels and cites a 25% drop in engagement reach compared with Reels where trending audio is added through Instagram’s native editor.
The practical fix is simple. Leave space for the audio layer when you export, then add the sound inside Instagram or through a scheduler that supports Instagram’s music workflow.
Audio rule: Add trending sound natively when possible. Don’t assume an externally embedded audio track will behave the same way.
Design for safe zones, not just full-screen
This is the mistake a lot of people catch too late. A Reel can technically fit the screen and still be poorly framed once Instagram overlays the UI.
Keep important text away from the edges where interface elements can cover it. That includes lower-screen areas where captions and controls sit, plus edge zones where profile and engagement UI compete for attention. The cover image needs the same treatment. If your title only works when every pixel is visible, it’s too close to the edge.
A few simple habits help:
- Keep headline text centered: Don’t anchor key words near the bottom.
- Check the cover separately: A readable Reel frame doesn’t always make a readable cover.
- Review with captions on: Auto-captions and UI layers stack quickly.
- Use analytics for timing: Don’t guess posting times when your account data can show active windows.
For a broader production checklist, this guide on Instagram Reels best practices is worth bookmarking.
Frequently Asked Questions About Scheduling Reels
Why can’t I see the Schedule this Reel option?
The most common reason is account type. A walkthrough on switching to a professional Instagram account for Reel scheduling explains that the feature isn’t available on personal accounts. You need to switch through Settings and privacy > Account type and tools > Switch to professional account.
Can I schedule Instagram Reels from desktop?
Yes, but not with Instagram’s native in-app flow. For desktop scheduling, Meta Business Suite is the main official option, and third-party schedulers also cover this use case.
Can I edit a scheduled Reel after setting it?
Sometimes you can make limited changes depending on the workflow, but native scheduling is not the most flexible option. If you expect frequent caption changes, timing shifts, or approval edits, desktop or third-party workflows are easier to manage.
Does scheduling hurt Reel performance?
Scheduling itself doesn’t automatically hurt performance. What usually causes problems is poor timing, bad formatting, or publishing with broken audio behavior. The tool matters less than the execution.
Should I add hashtags in the caption or the first comment?
That depends on your workflow. If you want a cleaner caption, first-comment scheduling can be useful, but native options don’t reliably support that. If you need the comment to go live at the same moment as the Reel, you’ll want a tool that supports that workflow.
If your team is turning podcasts, webinars, interviews, or long-form videos into short clips, quso.ai is a practical way to handle repurposing, captions, and scheduling in one place without stitching together a separate workflow for each step.