How to See Timeline on Facebook
You’ve probably noticed Facebook is constantly changing its interface, making it harder to keep up with where everything is. One minute, you’re cruising through your business page, and the next, you're wondering where your timeline even went.
This can be a big pain, especially when you're trying to engage with your followers or track your posts. Losing track of your content can make running a business on Facebook feel like a guessing game.
But don’t worry, we’ve got a simple solution. We’ll show you how to see your timeline on Facebook so you can easily manage your business page and stay connected with your audience.
How to See Timeline on Facebook
How to See Your Facebook Timeline on Desktop
Step 1: Log In
Start by logging into your Facebook account through your preferred web browser. Ensure your credentials are secure for a safe login.
Step 2: Access Your Profile
After logging in, click on your name or profile picture at the top of the homepage to go directly to your personal profile, where your timeline will appear.
Step 3: Explore Your Posts
Your timeline will be front and center, showing your posts in order. You can also use the navigation tool to jump to specific years or months.
Step 4: Activity Overview
To review your interactions, go to the Activity Log near your cover photo. This feature helps you manage and view all your Facebook activities.
How to See Your Facebook Timeline on Mobile
Step 1: Open the App
Launch the Facebook app on your smartphone, making sure it's updated for the best experience.
Step 2: Navigate to Menu
Tap the three horizontal lines (the "hamburger menu") at the bottom right (iOS) or top right (Android) of your screen to access different sections.
Step 3: Select Your Profile
Tap on your name at the top of the menu. This will take you directly to your profile, where your timeline is visible.
Step 4: Swipe Through Posts
Swipe vertically to browse through your posts or use the calendar icon to explore your timeline more specifically.
How to See Your Facebook Timeline as Another User
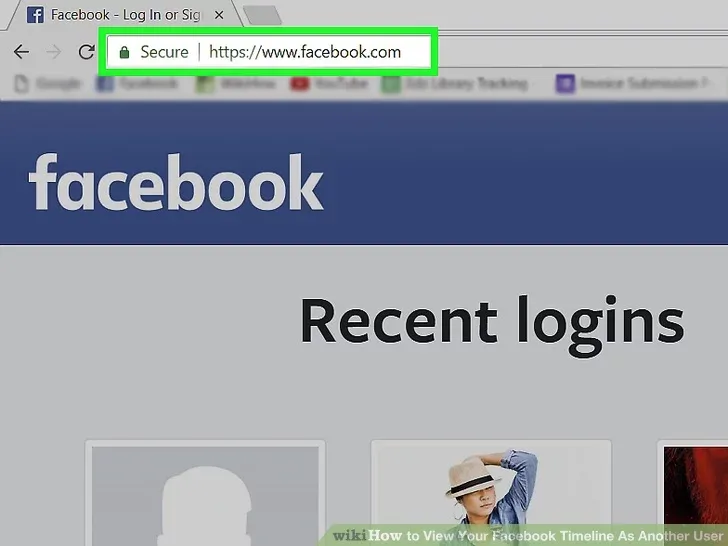
Step 1: Open Your Web Browser
Open your web browser and visit the Facebook website.
Step 2: Log In to Your Account
Log in to your account using your Facebook credentials if you haven’t already done so.
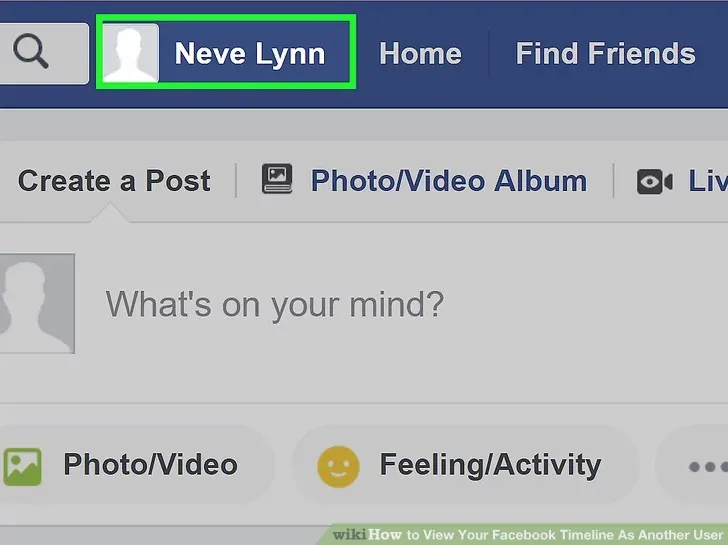
Step 3: Click Your Name
Click on your name from the upper right-hand corner of the page to go to your profile.
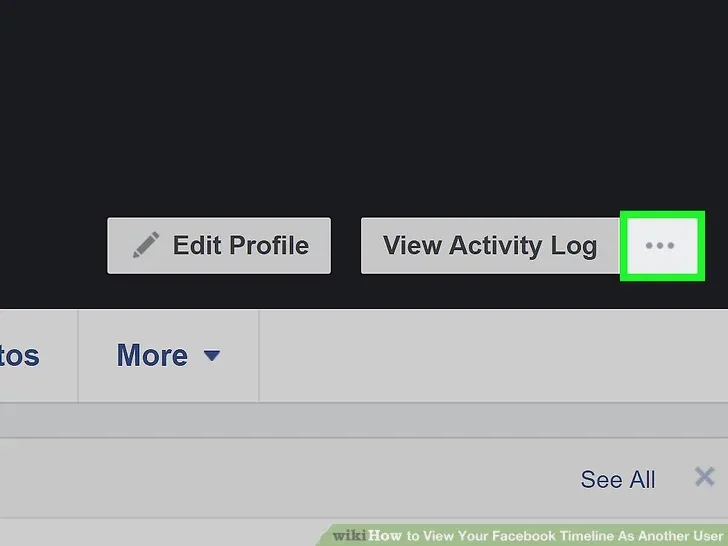
Step 4: Locate the Gears Icon
Find and click the Gears icon on your Facebook page, next to the Activity Feed button.
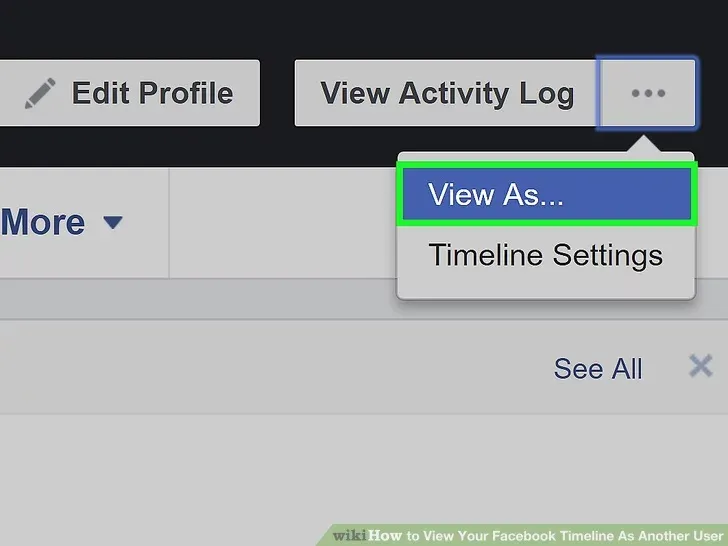
Step 5: Click the "View As" Option
Click on the "View As" option to view your profile as others would see it.
Step 6: Wait for the Black Bar
Wait for the black bar to appear underneath the Facebook toolbar. You’ll see several options.

Step 7: Default View
Realize that the first view you see is the default Public view. This is what a person who isn’t friends with you yet would see when visiting your profile.

Step 8: Click "View as Specific Person"
Click on the "View as Specific Person" option from the black bar.

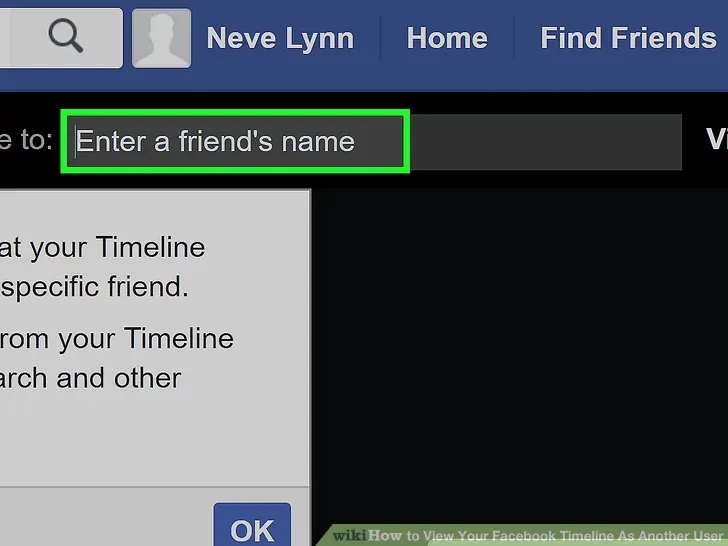
Step 9: Enter a Friend’s Name
Enter your friend’s name as it appears on your Facebook account, then click their name once it shows up. This list will update in real-time as you type.
Leverage Facebook Timeline to Keep Track of Your Content
Your Facebook timeline is essential for organizing and tracking your content. By reviewing your posts regularly, you can ensure that everything is aligned with your business goals. Now that you know how to view and manage your timeline, you can easily monitor your content’s performance, engage with your audience, and make adjustments as needed.
And if you need any help creating or managing content for your Facebook, log in or sign up for quso.ai and let us help you take your Facebook marketing to the next level.
Managing your Facebook presence? quso's social media scheduler lets you plan and auto-publish Facebook and Instagram posts from one calendar.