How to Delete an Event on Facebook? Step-by-Step Guide for 2025
Facebook Events are a powerful tool for promoting your business, reaching customers, and organizing events. In fact, over 700 million people use Facebook Events each month!
But let’s face it—sometimes things don’t go according to plan. Whether the date’s wrong, the details need tweaking, or you’ve just had a change of heart, you’re probably wondering how to delete it with minimal fuss.
You’ve probably searched for answers, but it often feels like everyone’s overcomplicating the process. All you really want is to remove that event and move on, right?
Don’t worry, we’re here to guide you through the process. In this post, we’ll show you how to delete a Facebook event quickly and easily. Let’s dive in!
{{cta-richtext}}
What is a Facebook Event?
A Facebook event is a feature on the platform that allows users to create, organize, and promote events for personal or business purposes. Whether it’s a birthday party, a product launch, or a webinar, Facebook Events helps you manage everything from invitations to RSVPs.
When you create an event, you can set the event’s date, time, and location (online or in person), and invite guests directly. You can also share event details, post updates, and keep attendees informed as the event approaches.
For businesses, it’s a great way to engage your audience and generate buzz around upcoming activities.
With over 700 million people using Facebook Events each month, it’s a widely accessible tool that can help you grow your reach and strengthen connections with your audience.
How to Delete an Event on Facebook
How to Delete an Event on Facebook on Mobile
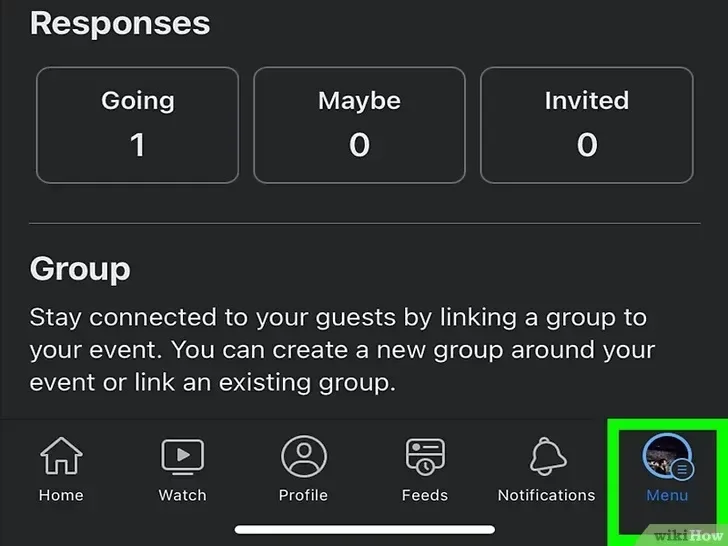
Step 1: Open Facebook on your mobile & tap the hamburger menu icon. On an iPhone or iPad, you’ll find it at the bottom right. On an Android, it’s at the top right.
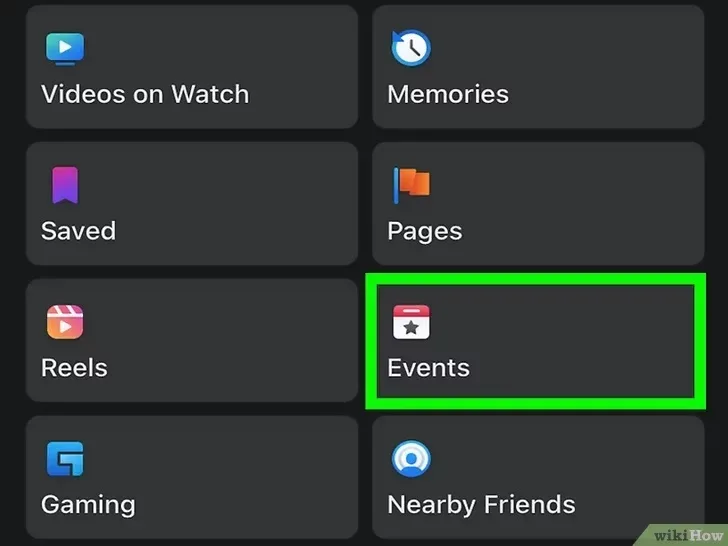
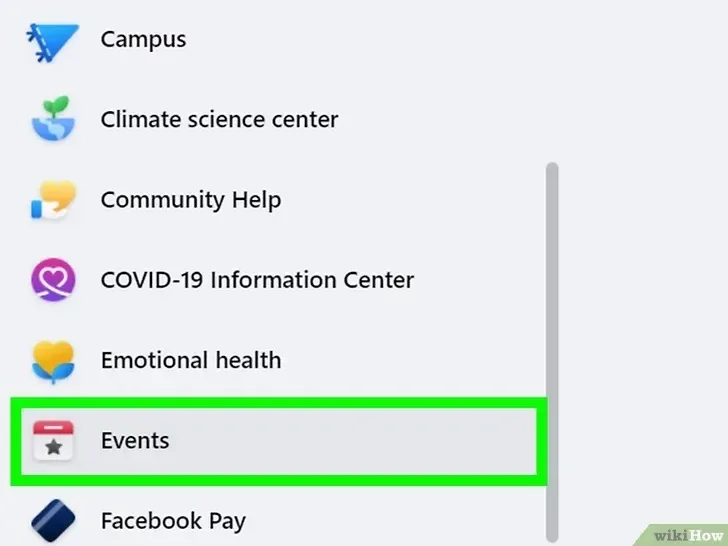
Step 2: Tap Events. You might need to tap See More depending on your app version.
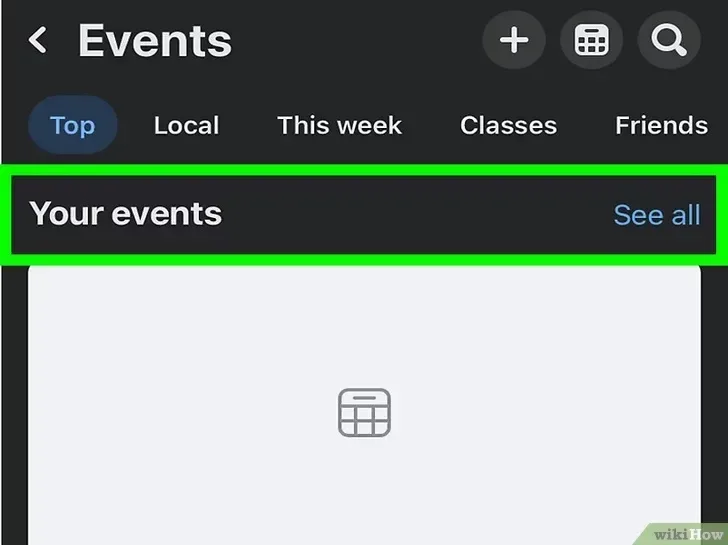
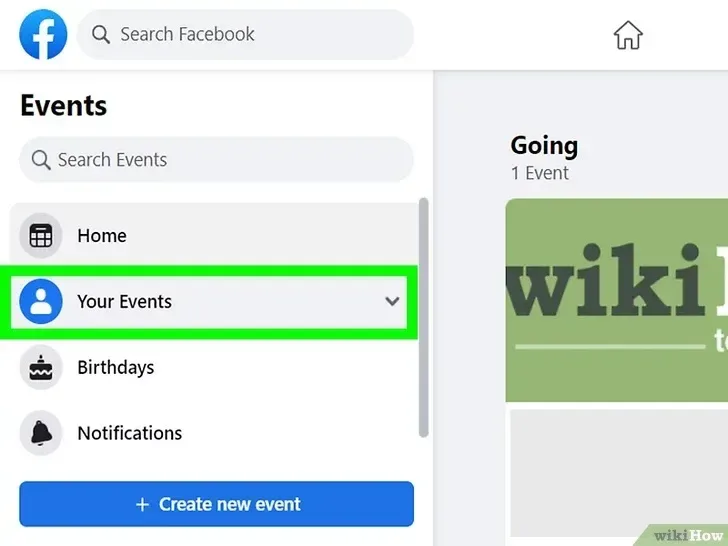
Step 3: Tap Your Events. This will show you a list of events you’re hosting. Find the event you want to delete.
Step 4: Tap Edit. This will open a menu with several event options.
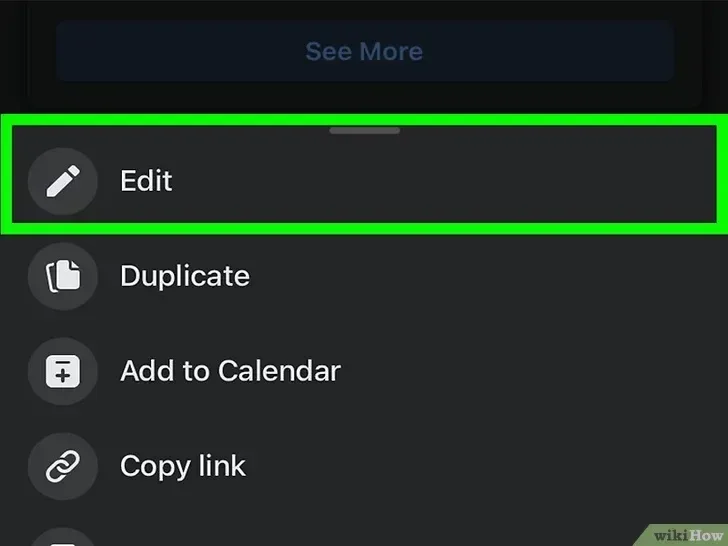
Step 5: Tap Delete Event. This will begin the deletion process. If you want to cancel the event instead, tap Cancel Event, and people can still interact on the event page.

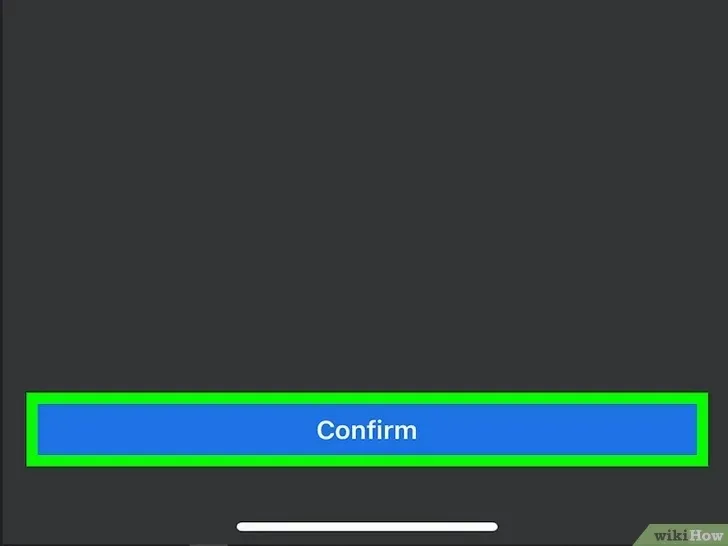
Step 6: Tap Confirm to finalize. The event will now be deleted (or canceled, if that’s the option you chose). Users who were invited but didn’t decline will get a notification.
How to Delete an Event on Facebook on the Desktop
Step 1: Open Facebook on your desktop & click Events in the left menu of your Feed. If you don’t see it, click See More first.
Step 2: Click Your Events in the left panel. Select Hosting, then choose the name of your event to open its page.
Step 3: Click the More ••• menu. This will open a list of options for your event. You’ll see two choices:
- Cancel Event: Marks the event as canceled and notifies all guests. You can add a message for your guests. The event will still appear in your calendar, but it won't be active.
- Delete Event: Completely removes the event from Facebook, including from all attendees' calendars.
Step 4: Select Delete Event to start the deletion process, or Cancel Event if you prefer to cancel instead.
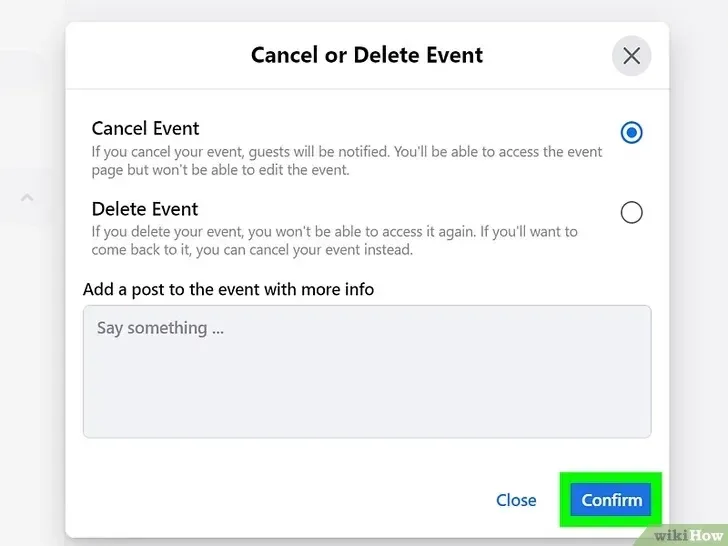
Step 5: Click Confirm to save your changes. Once confirmed, the event will either be canceled or deleted right away.
{{cta-richtext}}
How to Create a Public or Private Event on Facebook
How to Create a Facebook Event on Mobile
Step 1: Launch the app and log in if you’re not already.

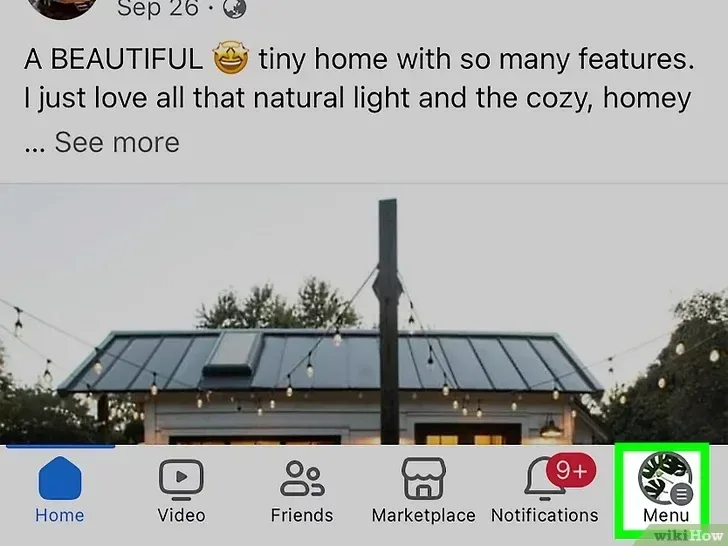
Step 2: Tap Menu. On iPhone, it’s at the bottom-right corner, and on Android, it’s at the top-right. This will open the additional options menu.
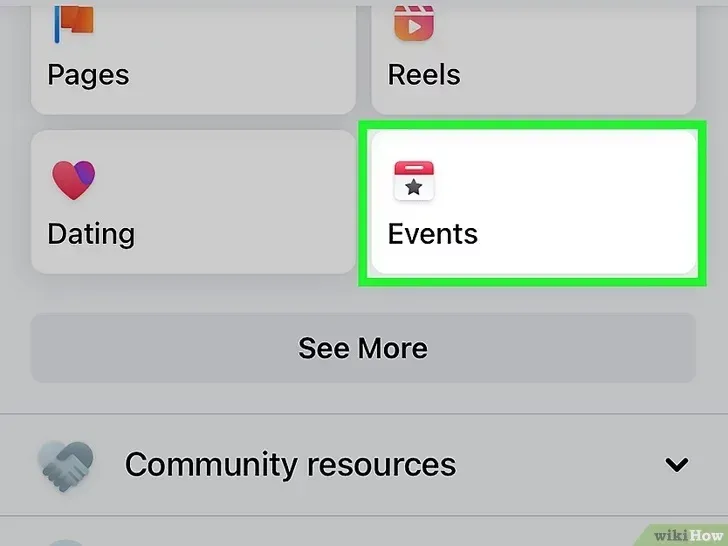
Step 3: Find the calendar-shaped icon near the top of the menu. If it’s not visible, scroll down or tap See more.
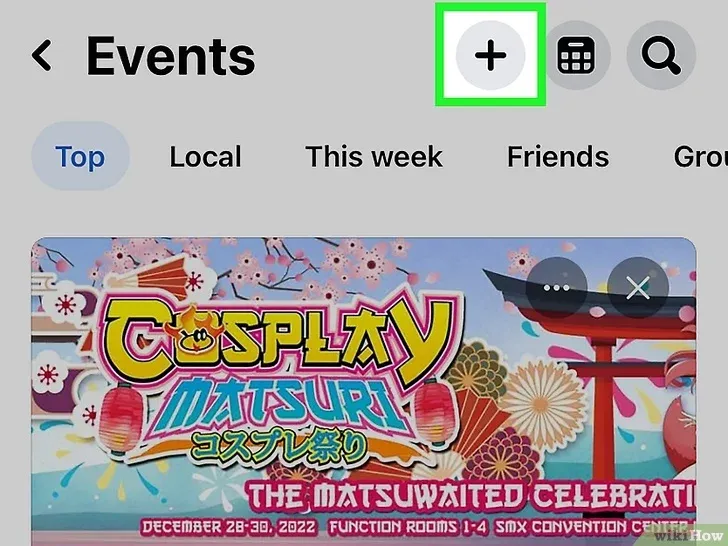
Step 4: Tap +. This will open the event creation menu.
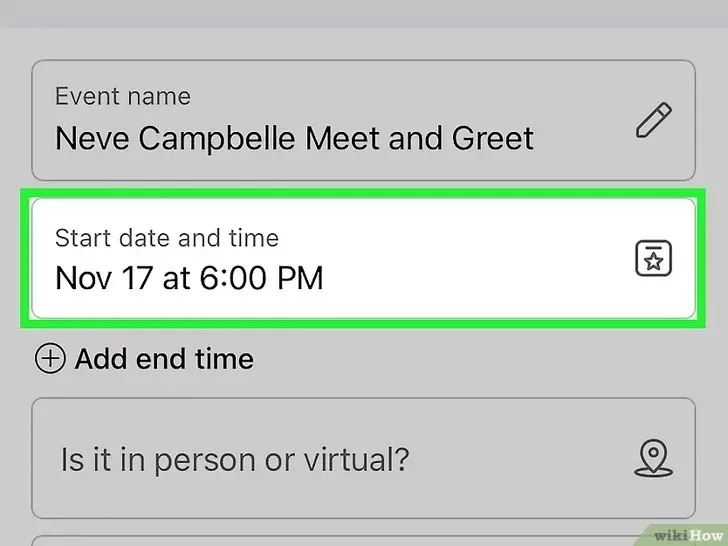
Step 5: Enter a name for the event.
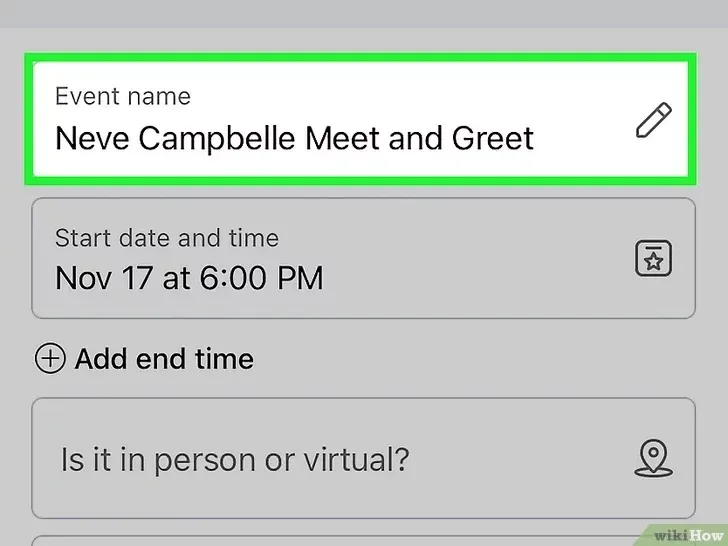
Step 6: Add a time for the event.
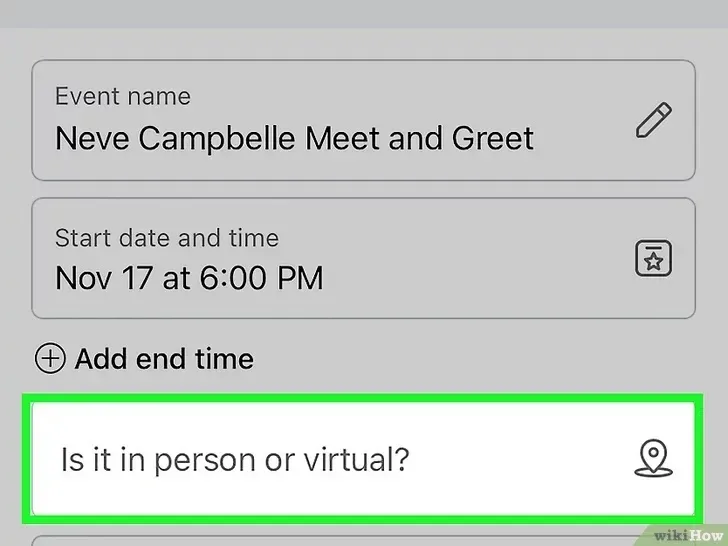
Step 7: Select an event location. Choose In-person or Virtual (like Zoom or Facebook Live). Enter the location if it's an in-person event or add the platform link for virtual events.
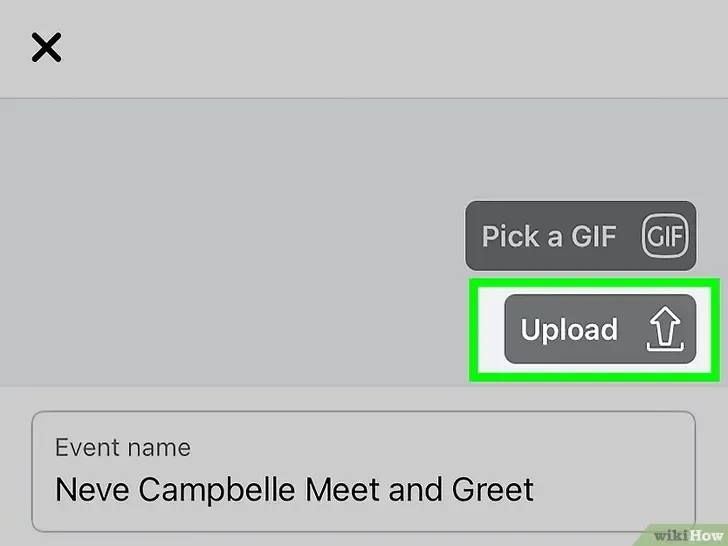
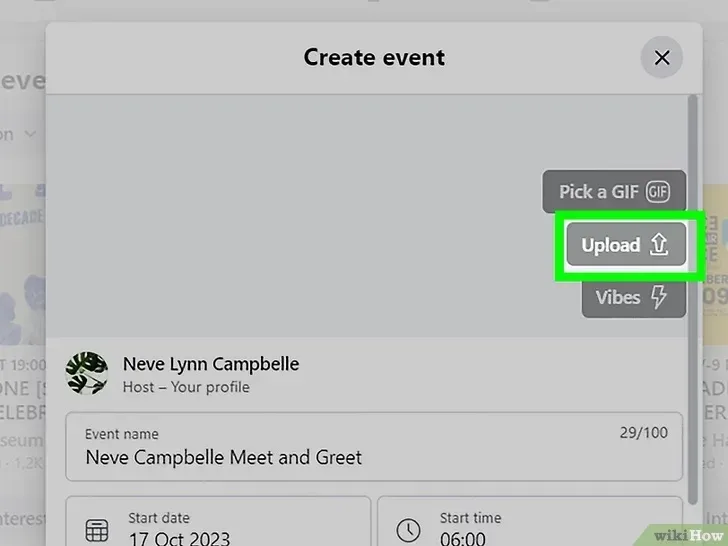
Step 8: Upload photos for the event. Choose a photo from the gallery, upload a new one, or pick a GIF. Tap Pick a GIF to search Tenor or Gallery for Facebook’s image library.
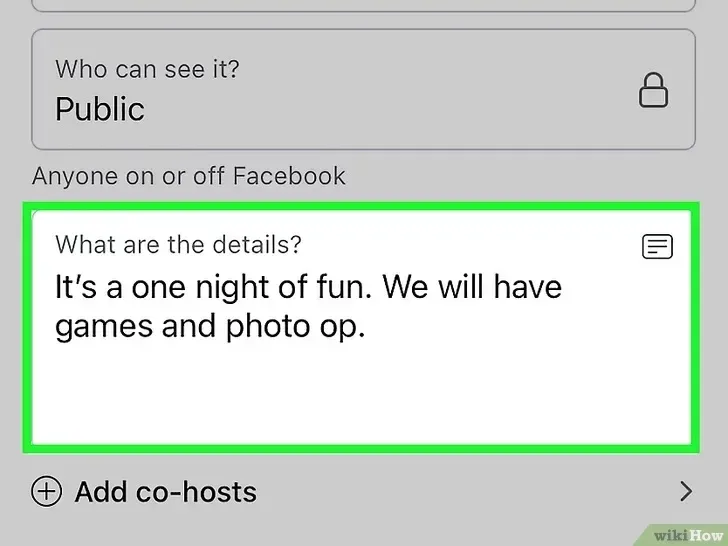
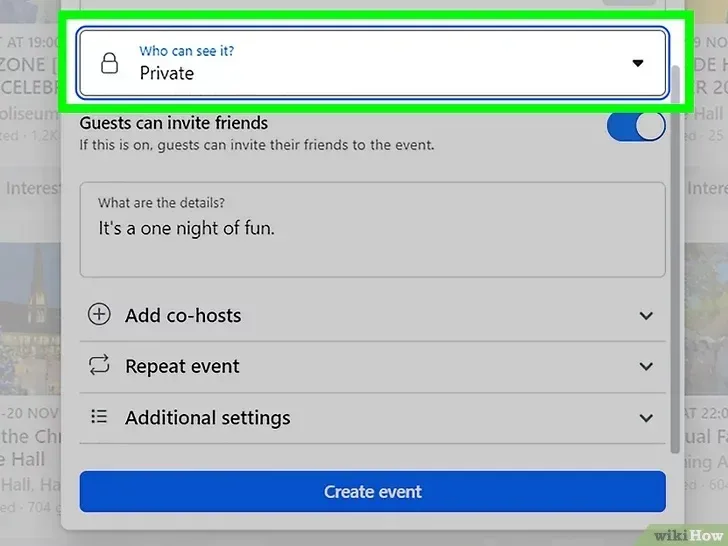
Step 9: Choose the audience. Tap Who can see it? and select whether the event is Private, Public, or for Friends only.
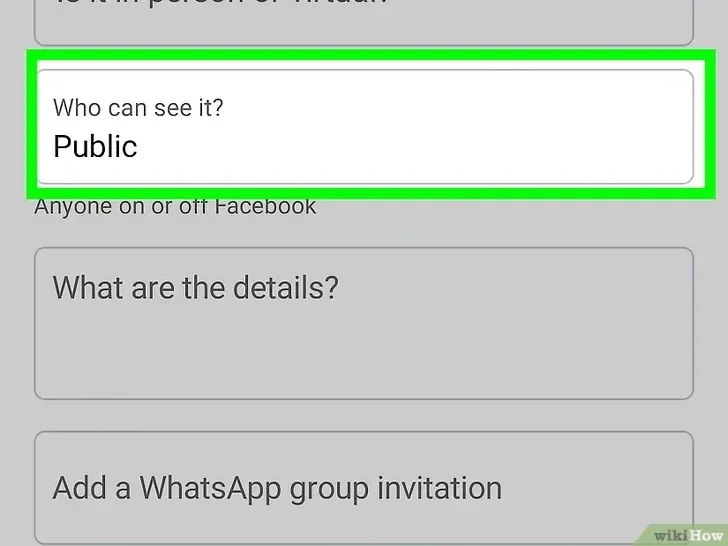
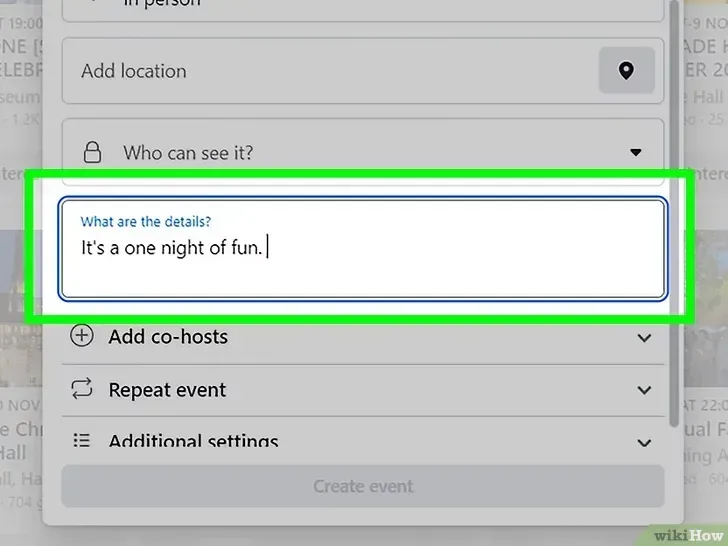
Step 10: Tap “What are the details?” and include any additional info like house rules, expectations, or an itinerary.
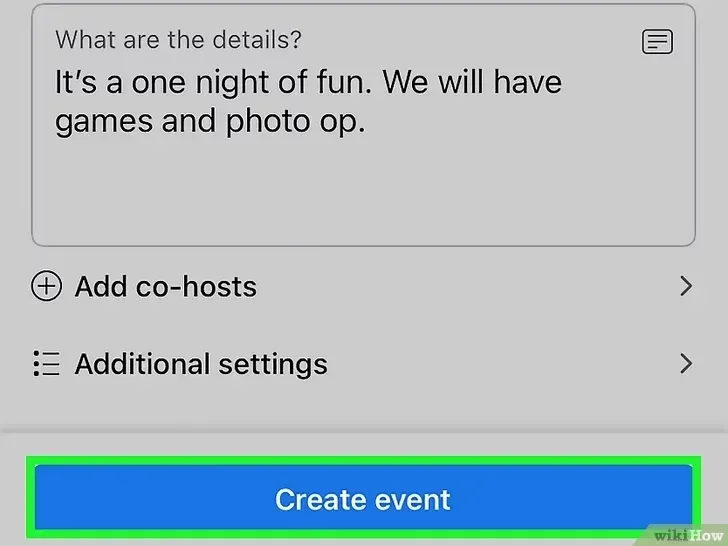
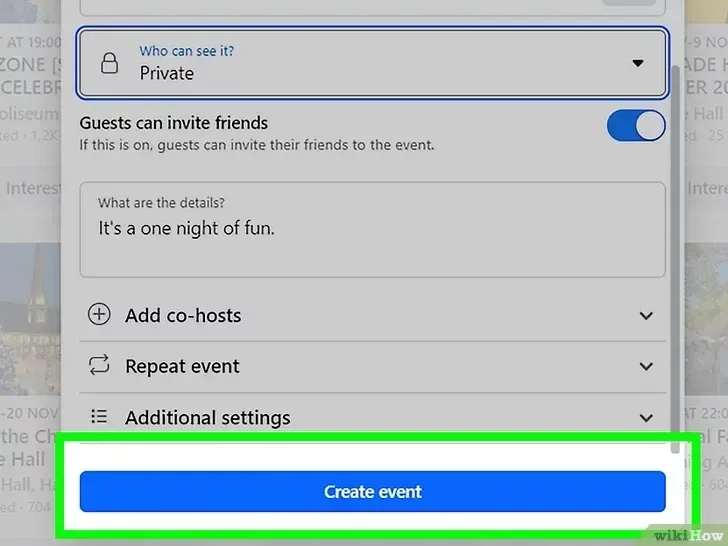
Step 11: Once everything’s set, tap the Create Event button at the bottom to publish your event.
How to Create a Facebook Event on Desktop
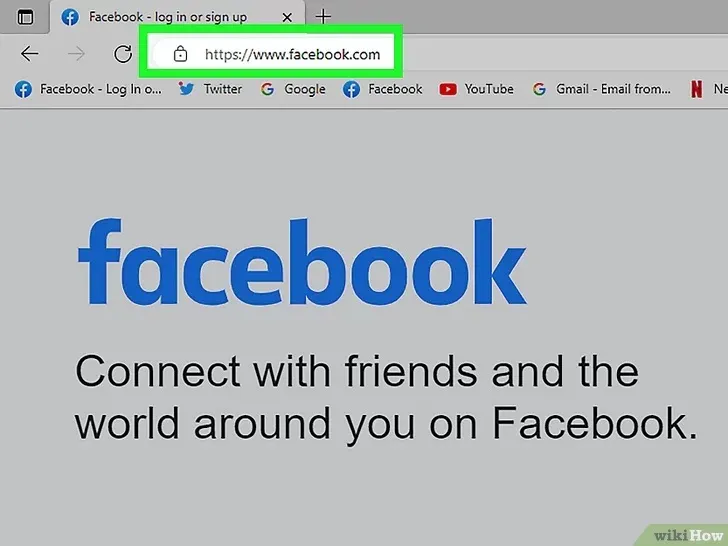
Step 1: Go to Facebook in your web browser.
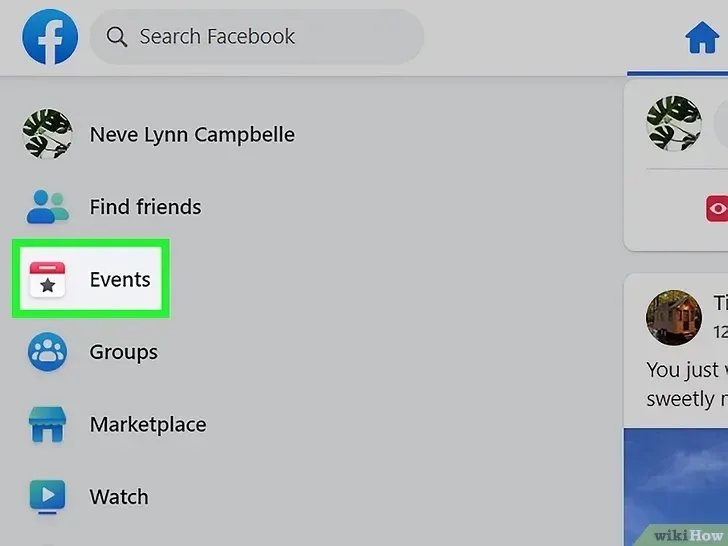
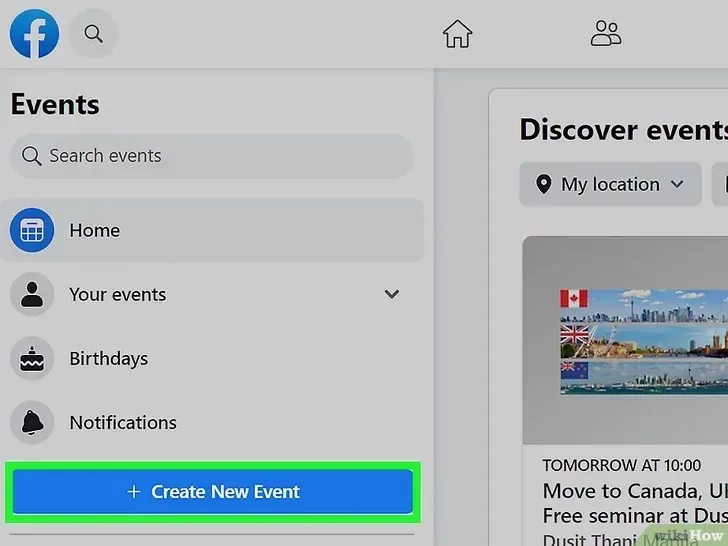
Step 2: Click Events in the left menu of your News Feed page.
Step 3: Click + Create new event to open the event creation window.
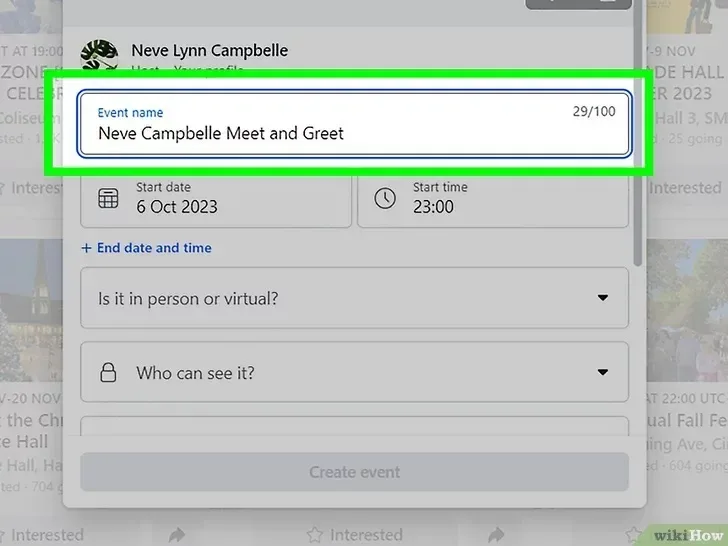
Step 4: Enter the Event Name in the text field.
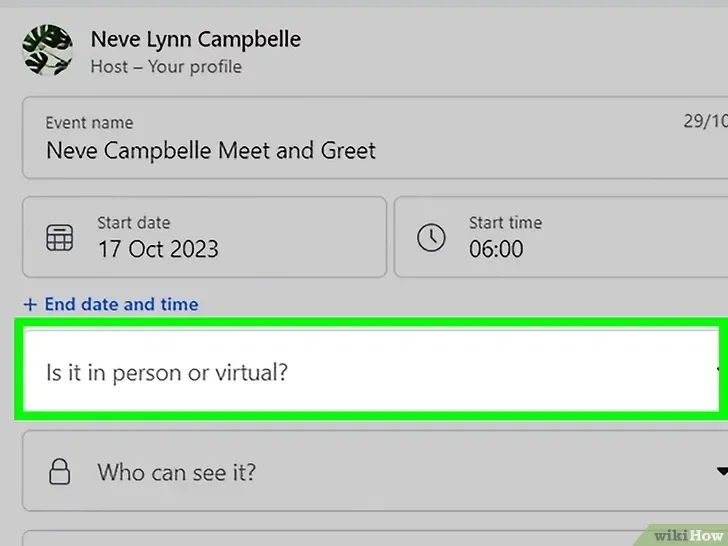
Step 5: Choose whether the event is In-person or Virtual, then enter the location if it's in-person.
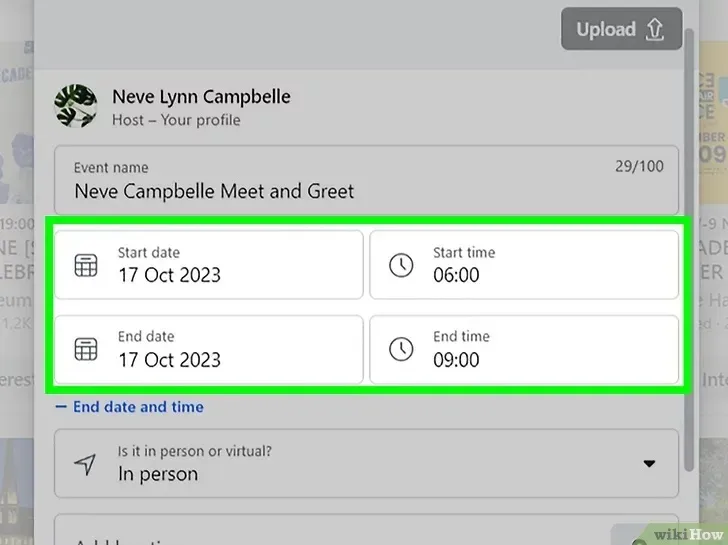
Step 6: Set the Start and End time for your event.
Step 7: Add a Description with event details such as rules and schedule.
Step 8: Select the Audience (Private, Public, or Friends only).
Step 9: Upload a cover photo or GIF for your event.
Step 10: Click Create Event to publish it.
7 Tips for Creating a Successful Facebook Event
1. Choose a Clear and Engaging Title
Your event title is the first thing attendees will see, so make it clear and catchy. Use descriptive words that highlight the purpose of your event, like "Grand Opening," "Exclusive Webinar," or "Product Launch."
Keep it short but informative, and avoid jargon. A compelling title grabs attention and encourages people to click, learn more, and RSVP.
2. Add a Detailed Description
A well-created description is essential for explaining what your event is about and why people should attend. Include the date, time, location, and any special guests or features.
Highlight key details like ticket prices, any special offers, or registration requirements. The more informative your description, the better your chances of attracting the right audience and boosting engagement.
3. Use a High-Quality Cover Photo
Visuals play a huge role in attracting attention. Choose a high-quality cover photo that represents your event clearly and professionally. If it’s a business event, feature your branding, product, or service.
A strong image builds credibility and excitement, helping attendees instantly understand the nature of your event. Keep the image visually appealing, and ensure it fits Facebook’s recommended dimensions for the best presentation.
4. Select the Right Event Type
Facebook lets you choose from different event types, such as online, in-person, or hybrid. Be sure to select the right category based on your event’s format. If it’s a webinar, for instance, choose the online option.
If you're hosting a workshop at a local venue, select in-person. This helps attendees understand what to expect and provides the platform with the necessary information to display event details accurately.
5. Promote Your Event Effectively
After creating your event, don’t just wait for people to find it. Promote it actively by sharing it on your business page, posting about it in relevant Facebook groups, and using targeted ads if your budget allows.
Encourage your followers to invite friends or share the event. The more eyes on your event, the higher the chance of attracting the right audience and boosting engagement.
6. Engage with Attendees Before the Event
Keep your audience excited and engaged by posting regular updates on your event page. This could include sneak peeks, behind-the-scenes content, or reminders about special offers.
Respond to attendee questions or comments quickly to create a sense of community and anticipation. Engaging with your attendees builds excitement, increases interaction, and helps ensure that people stay interested in your event until the day it happens.
7. Set a Clear Call-to-Action
A strong call-to-action (CTA) guides attendees on what to do next. Whether it’s registering for the event, purchasing tickets, or simply marking themselves as “Going,” a clear CTA ensures you don’t lose potential participants.
Make the CTA visible in your event description and posts. Using phrases like "Register Now," "Get Your Tickets," or "Join Us Today" makes it easier for attendees to take immediate action and increases your event's success.
Leverage Facebook Events to Grow Your Business
Facebook Events give you the flexibility to manage your gatherings, but sometimes plans change. Now that you know how to delete and cancel events, you can easily keep your event calendar up to date. Whether you need to remove a past event or cancel one before it happens, these simple steps ensure your Facebook page stays organized and relevant. Take control of your event management and keep things running smoothly!
And if you need any help creating or managing content for Facebook, log in or sign up for quso.ai & take your Facebook marketing to the next level.