Frequently Asked Questions
Welcome! Below you’ll find answers to the most common questions about using Quso.ai.Getting Started
To start a new project/ upload a video on Quso.ai:
To start a new project/ upload a video on Quso.ai:
- Log in to your Quso.ai dashboard.
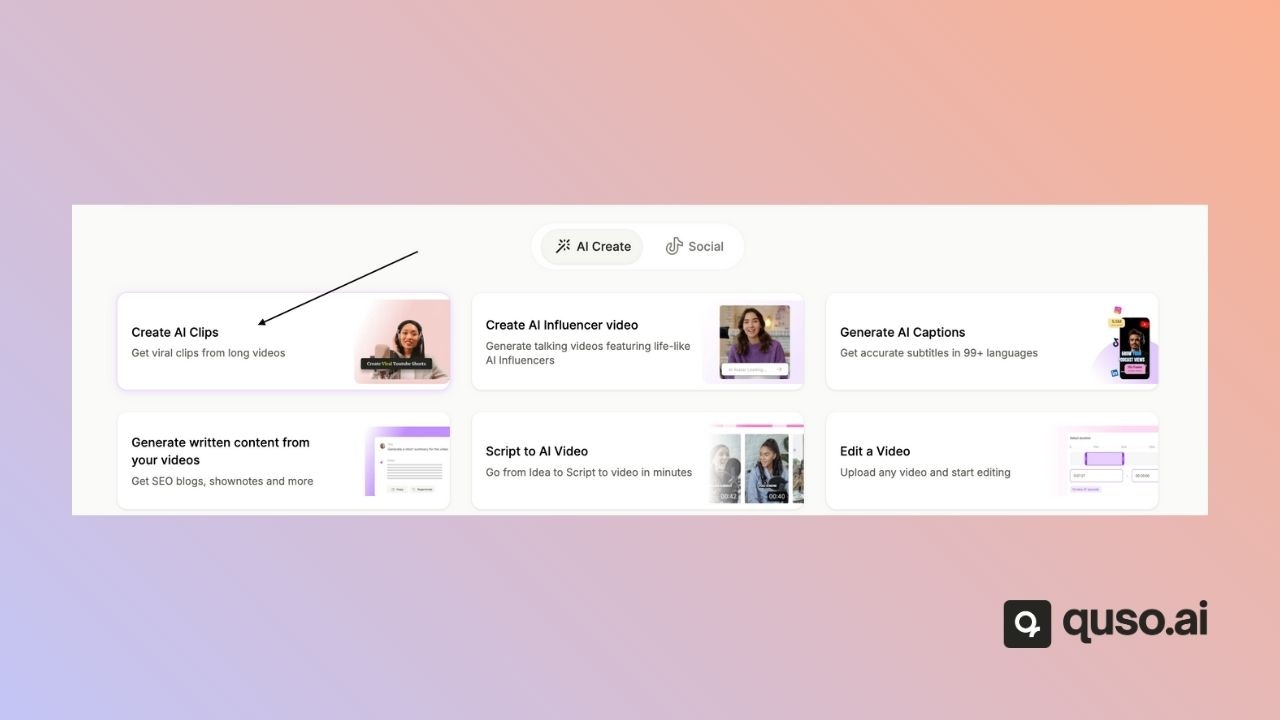
- From the home page, select the feature you’d like to use:
- AI Clips – Automatically generate short highlight videos.
- AI Captions – Add or edit captions for your videos.
- Edit a Video – Launch the full video editor for custom edits.
- You’ll see a short description under each feature to help you choose the right one.
- Follow the on-screen prompts to upload your video or generate content using AI.
Where is my dashboard and the video editing platform?
Where is my dashboard and the video editing platform?
What are the supported video formats and size limits for upload?
What are the supported video formats and size limits for upload?
.mp4, .mov, .webm , .m4v- Free plan: Max 5 GB/ 720p
- Paid plans: Up to 15GB / 1080p+
AI Video Creation & Editing
How do I generate AI clips or highlights from my long video?
How do I generate AI clips or highlights from my long video?
-
From the home page, select the feature:
- AI Clips – Automatically generate short highlight videos.
- You’ll see a short description under each feature to help you choose the right one.
- Follow the on-screen prompts to upload your video or generate content using AI.
How do I add or edit subtitles and captions on my video?
How do I add or edit subtitles and captions on my video?
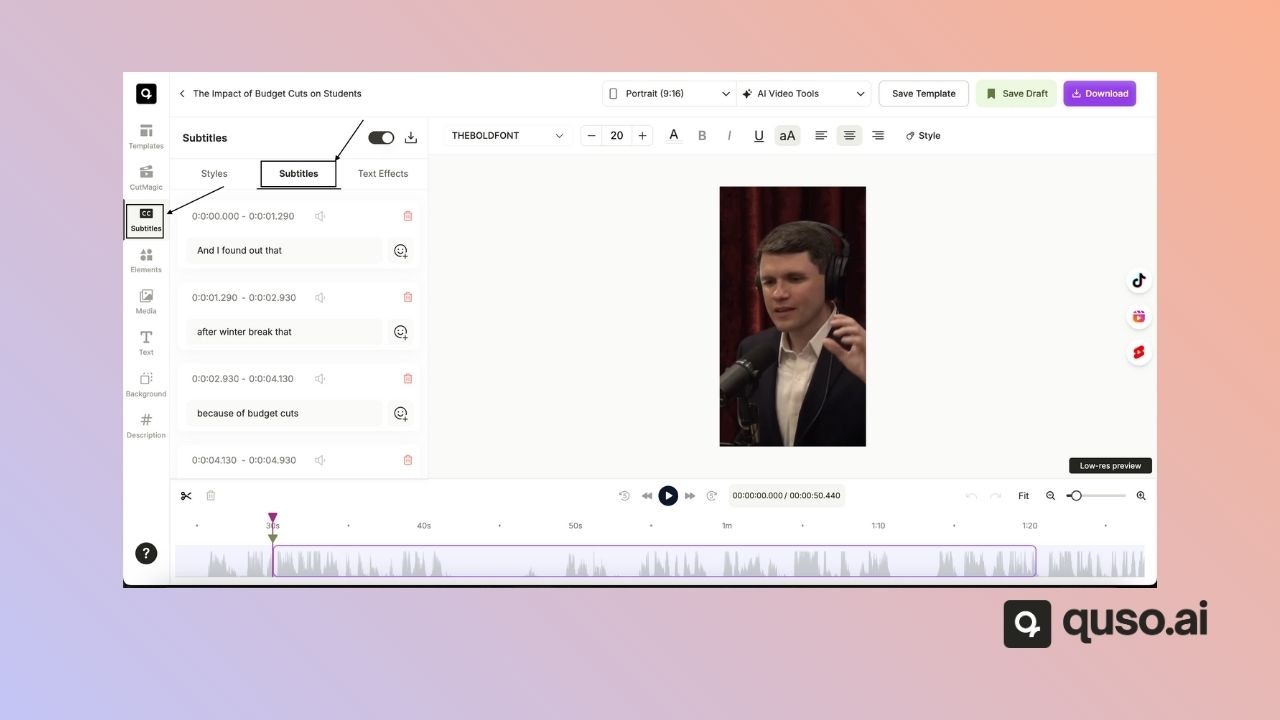
- Open the Subtitles tab
- Edit any subtitle box directly on the timeline
-
Use the auto-generated captions or edit them manually
How do I add background audio?
How do I add background audio?
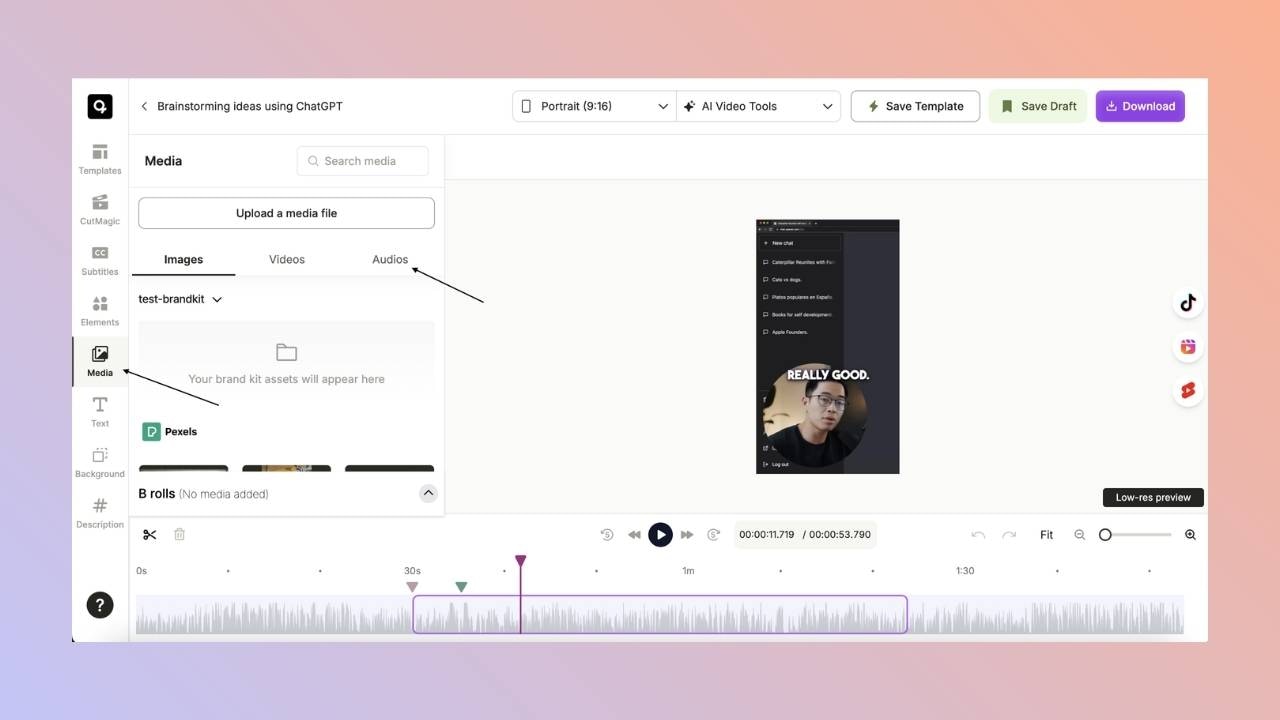
- Navigate to the Audio tab
- upload an audio file (MP3, WAV)
-
Adjust timing in the B-roll tab
How do I rotate or flip a video clip?
How do I rotate or flip a video clip?
How can I change the speed of a video or clip?
How can I change the speed of a video or clip?
- Select the clip you want
- Click on the download button
-
Over at the download option, you can select the playback speed for the downloaded video

How do I save a custom template or preset?
How do I save a custom template or preset?
- After editing, click Save as Template
- You will get the option to name the template before you save it
-
It’ll be available under the Templates tab for reuse
.jpg?fit=max&auto=format&n=PPQxl57wXfGcWExH&q=85&s=ff533913db04f9c8e263a553eab22350)
How do I add new scene cuts in CutMagic?
How do I add new scene cuts in CutMagic?
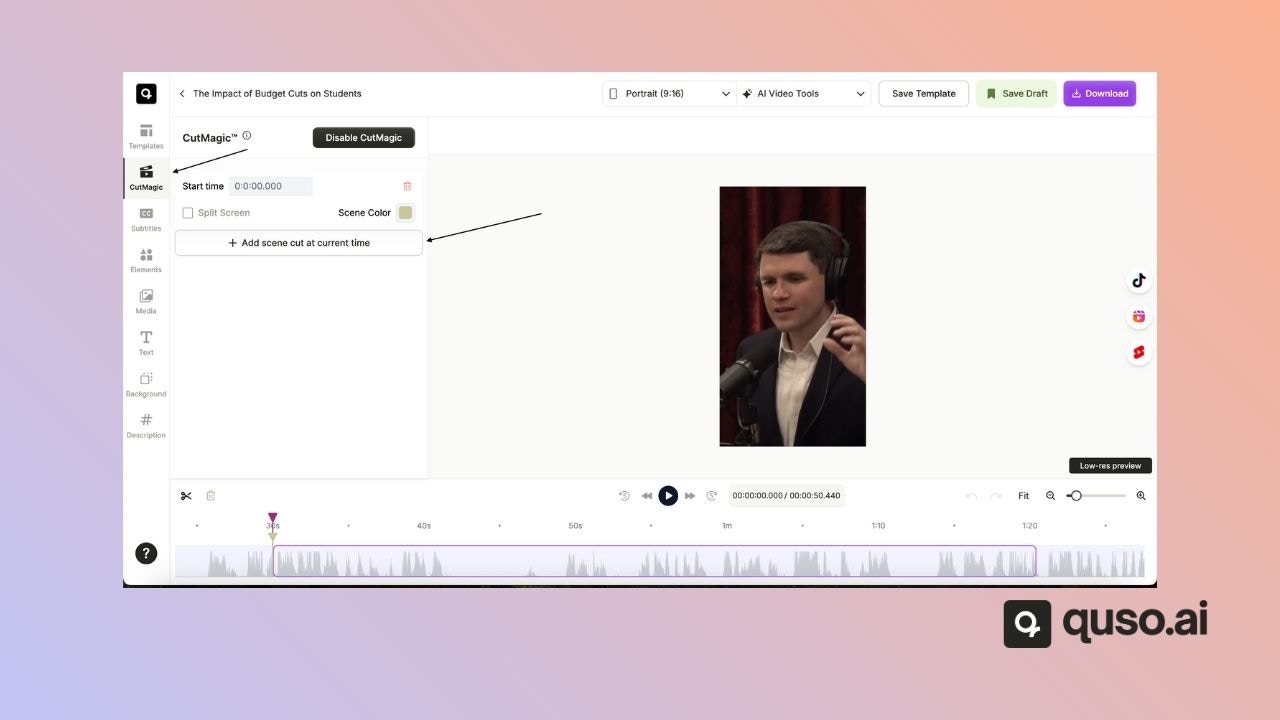
- Go to the point in the video where you would like to add the scene
- Click Add Scene Cut at Current Time
-
Readjust the frame to your liking; you can also toggle the split-screen option.
Why are no clips being generated from the uploaded video?
Why are no clips being generated from the uploaded video?
- The video must be over 3 minutes in length
- The video must have spoken words.
- Make sure to select the correct language while uploading the video.
Where do downloaded videos go?
Where do downloaded videos go?
Once the video is successfully downloaded, you can find it in the downloads section of your browser.
Plans, Credits & Upgrades
How do credits work in Quso.ai?
How do credits work in Quso.ai?
- 1 credit = 1 minute of video, rounded up to the nearest minute.
- Credits are shown before any action is processed.
- On monthly plans, credits renew each month and unused credits expire.
- On annual plans, you get all credits upfront for the year.
- Add-on credits (purchased separately) do not expire.
- Failed or unprocessed videos are auto-refunded.
- In team workspaces, credits are shared across all members.
What does the “Upgrade” message mean?
What does the “Upgrade” message mean?
- Used your free credits
- Accessed a premium-only feature
Is the free plan available in my country?
Is the free plan available in my country?
Will the Plus plan allow me to upload directly to YouTube?
Will the Plus plan allow me to upload directly to YouTube?
Billing & Currency
How do I change the billing currency?
How do I change the billing currency?
- Quso.ai sets the currency based on your location
- Currency cannot be changed manually at this time
- Contact support for region-specific issues
What is Quso.ai’s refund policy?
What is Quso.ai’s refund policy?
- Monthly: Non-refundable
- Annual: Refund within 72 hours if unused
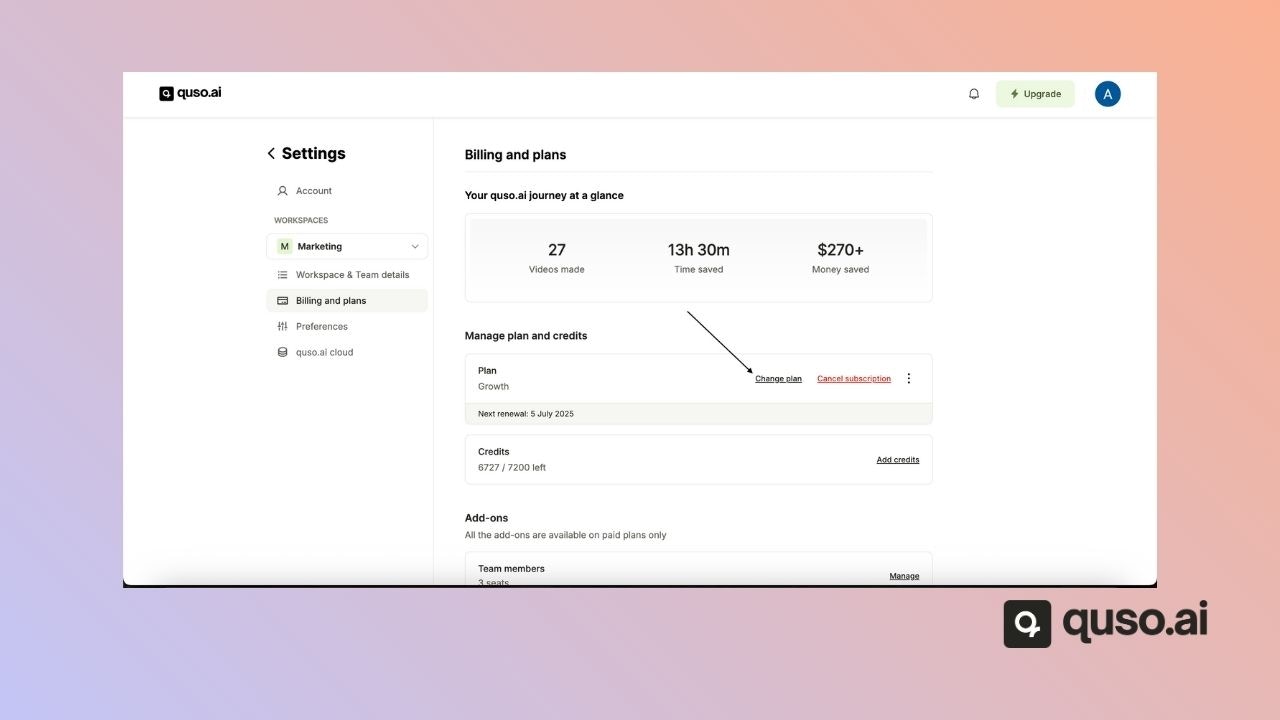
How do I cancel my subscription?
How do I cancel my subscription?
- Go to Billing & Plans
- Click Cancel Plan
-
Your plan remains active until the billing cycle ends
Platform Navigation & UI
Where do I find tools like rotation or the properties panel?
Where do I find tools like rotation or the properties panel?
Troubleshooting
Why can’t I upload my video?
Why can’t I upload my video?
- Format:
.mp4,.mov,.webm - File size: under your plan’s limit
- Browser: try Chrome
- Clear cache or disable extensions
- If the issue persists, contact support — it could be a bug
Why did my video processing fail?
Why did my video processing fail?
- The file may be too long
- The server may be overloaded
- Content may be unsupported (e.g., selecting the wrong language while uploading)
- If the issue persists, contact support — it could be a bug
Why can’t I download or play my video?
Why can’t I download or play my video?
- Re-download with a stable internet
- Make sure your device has storage
- If the issue persists, contact support — it could be a bug
Why is my video blurry even at 1080p?
Why is my video blurry even at 1080p?
- Check original video quality
- Re-render if clips were low-res
- If still blurry, contact support — it could be a bug
Account Management
I forgot my password. What should I do?
I forgot my password. What should I do?
- Click Forgot Password on the login page
- Follow the reset link in your email
I didn’t receive a verification email
I didn’t receive a verification email
- Check spam folder
- Re-send the verification email from the login page
- Double-check your email address
- If the issue persists, contact support — it could be a bug
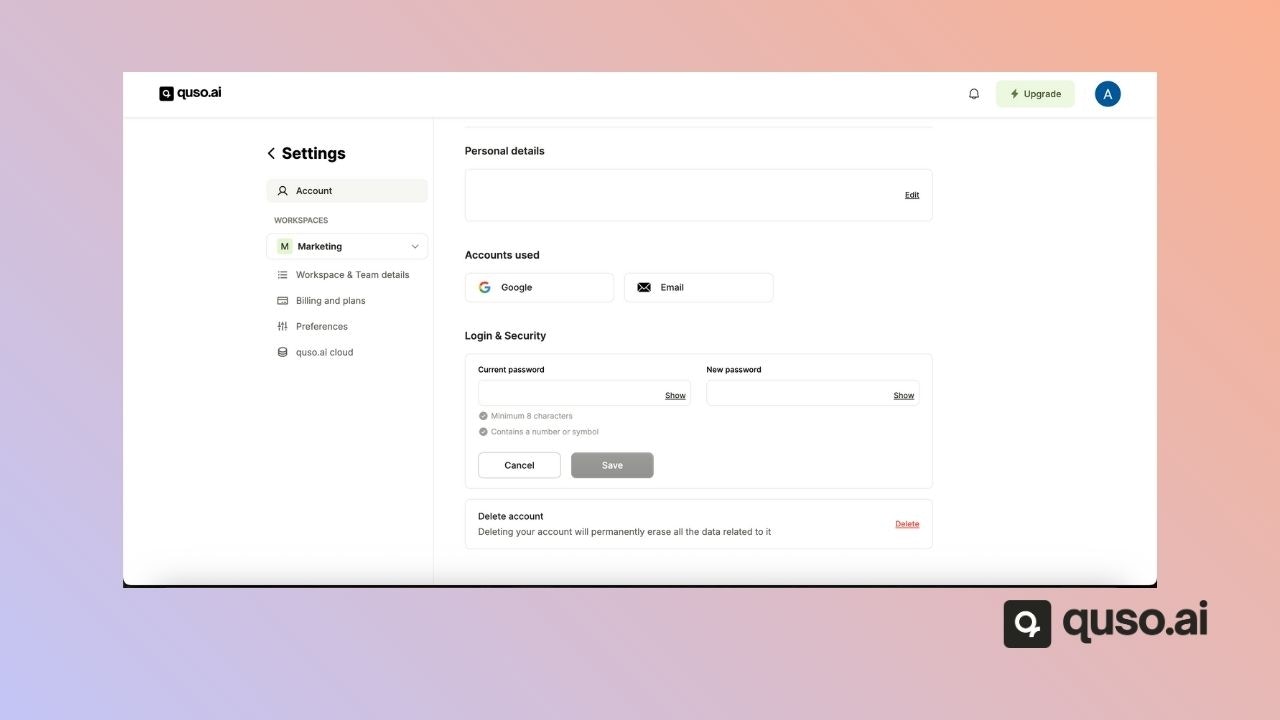
How do I change my password?
How do I change my password?
- Go to Settings → Security
-
Click Change Password
How do I log in to my Quso.ai account?
How do I log in to my Quso.ai account?
- Visit [quso.ai](https://quso.ai)
- Log in with your email or a linked Google/Facebook account
Advanced & Developer Features
Does Quso.ai offer an API?
Does Quso.ai offer an API?
How do I schedule posts or videos?
How do I schedule posts or videos?
- After editing, click Schedule
- Choose the publish date/time
- Available for TikTok, YouTube, Facebook, Instagram, LinkedIn, X (Twitter), and Pinterest.
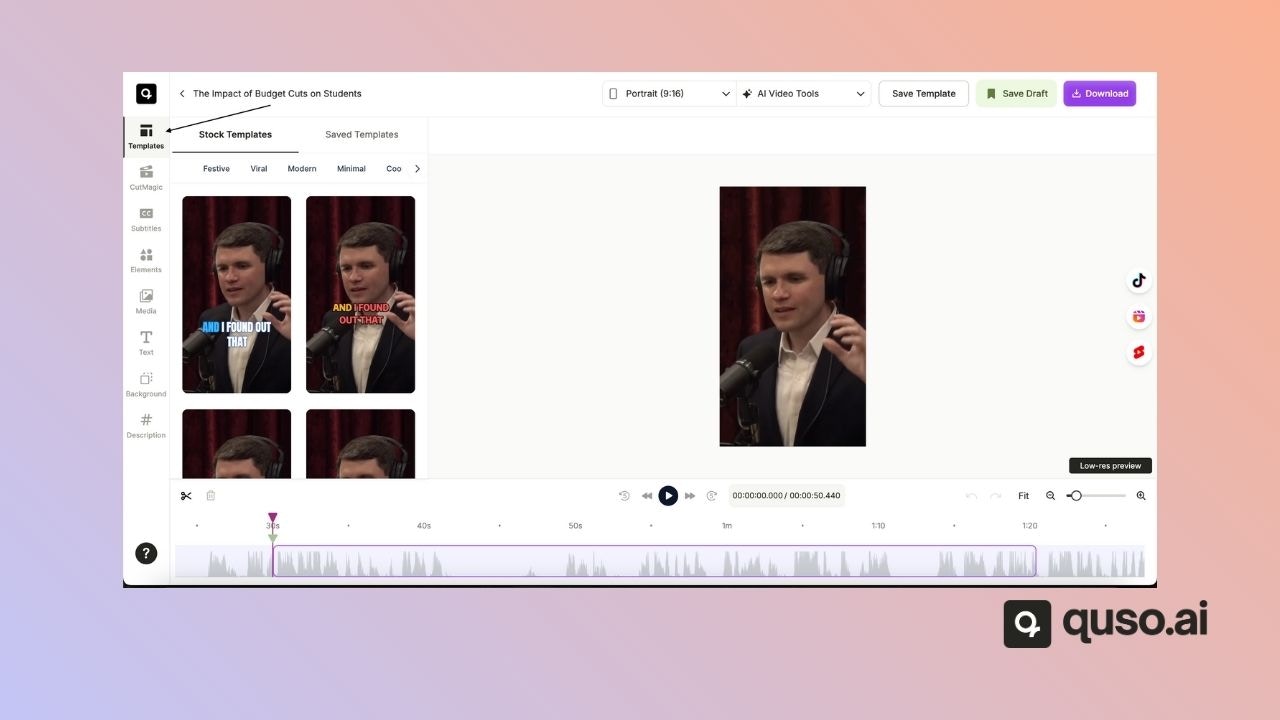
How do I use templates and presets?
How do I use templates and presets?
- Head to the templates tab
-
Select one from the stock templates or one of your saved templates
Support
How do I contact Quso.ai support?
How do I contact Quso.ai support?
- Use the in-app Help widget
- Email: [email protected]
- Submit a ticket at the Help Center