Step 1: Open the Music Menu
- Open the Editor
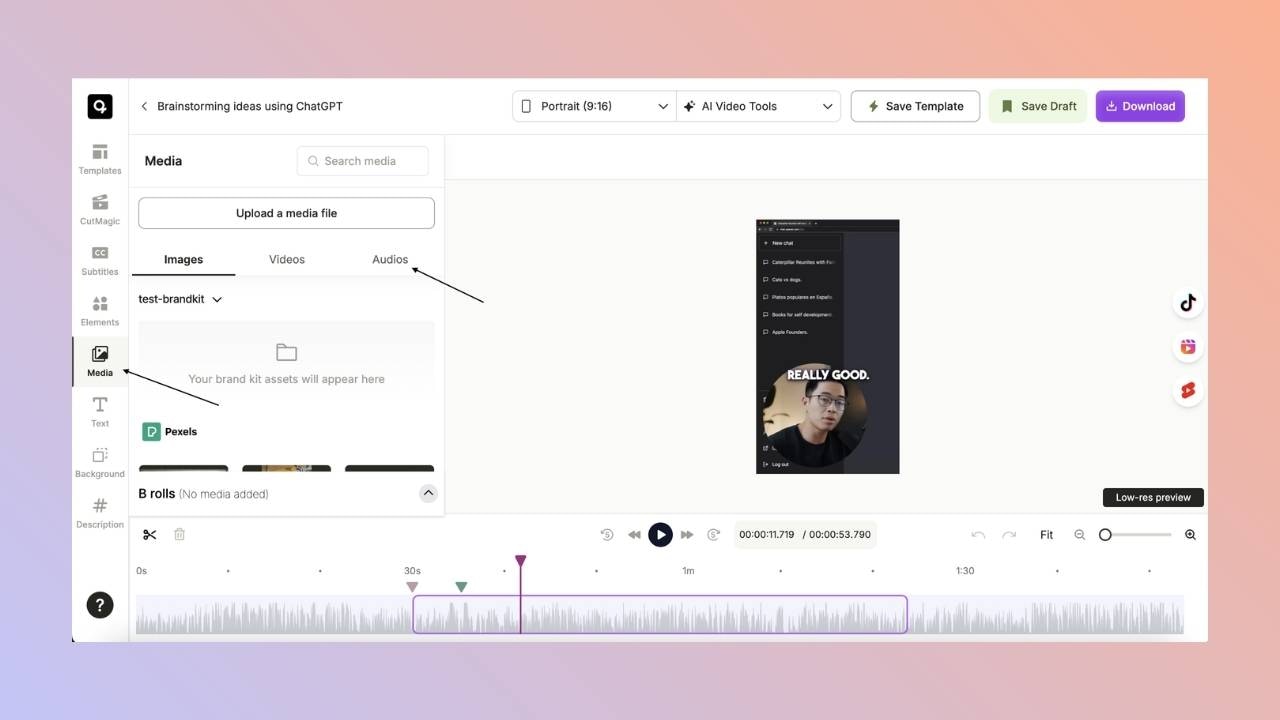
Head to the clip you want to edit and open it in the Quso.ai editor. - Go to Media > Audios
In the left sidebar, click on Media, then select the Audios tab.
Step 2: Add Your Music
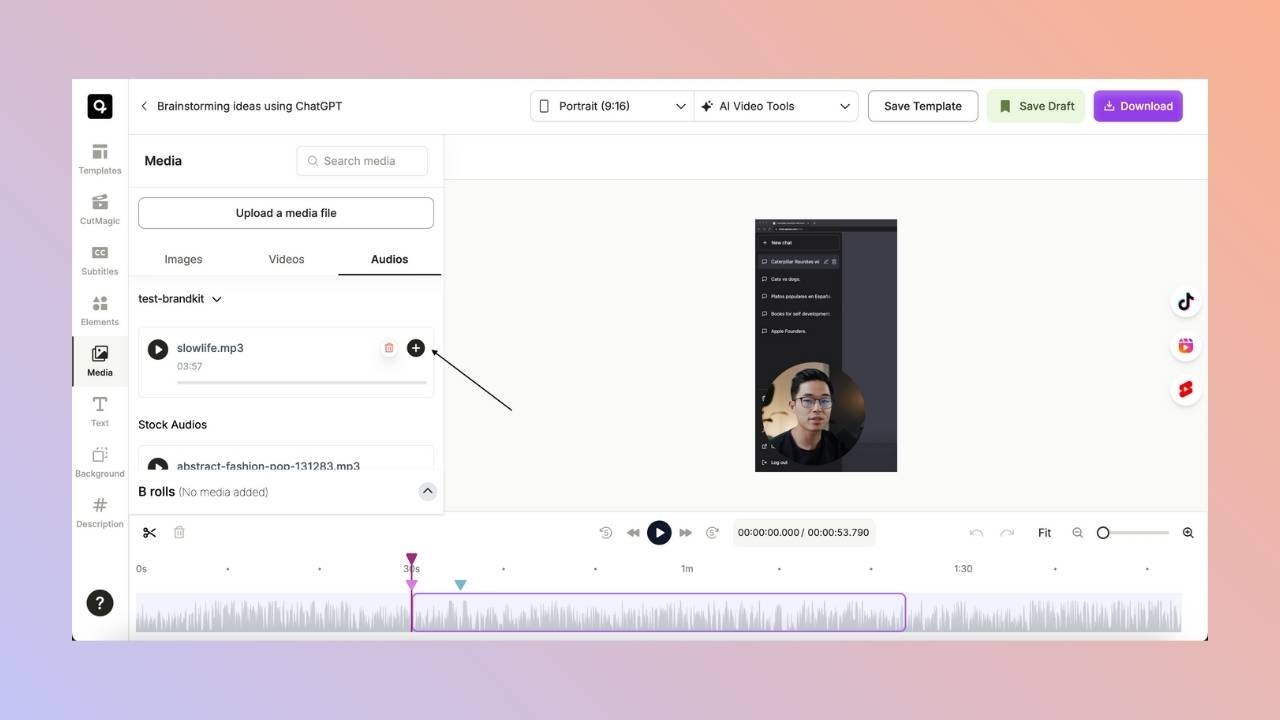
🔁 Option 1: Upload Your Own Audio
- Click “Upload a Media File” in the left panel.
- A pop-up will appear — choose the audio file you want to upload.
- Once uploaded, your audio will be saved under your Brandkit for future use.
🎧 Option 2: Use the Stock Music Library
- Browse the stock audio library for a track that suits your video.
- Once you find the right audio, click the “Add” button.
Step 3: Customize Audio Timing
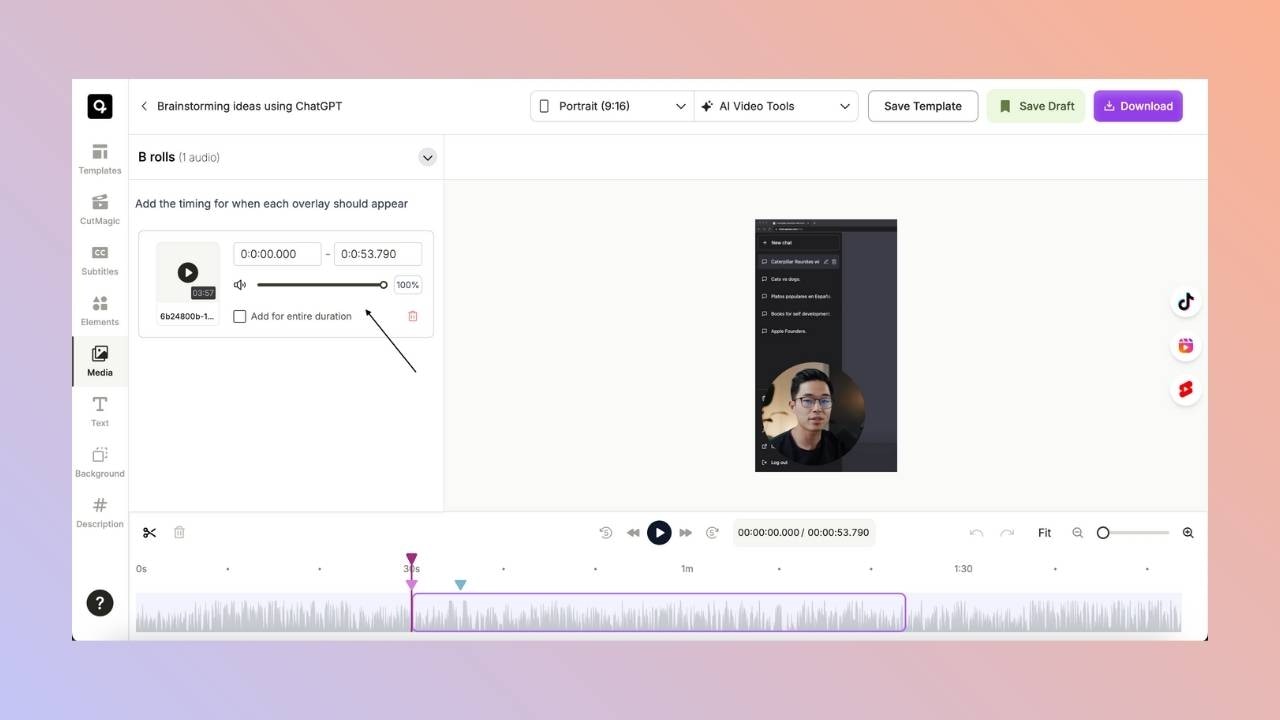
After adding music, it appears in the B-Roll menu. Here’s how to control when and how it plays:- Use the timestamp controls to set a custom start time and duration.
- Want it to play through the entire clip? Click **“Add for entire duration.”**Step 4: Adjust the Volume
- Use the volume slider in the B-Roll menu to increase or decrease the background music volume for a balanced audio experience.
Step 5: Remove or Replace Music (Optional)
- To delete an audio track, click the trash icon next to it in the B-Roll menu.
✅ Final Steps: Preview and Save
- Click Preview to check if the audio feels right.
- Adjust volume or timing as needed.
- Once happy, click Save or Schedule your clip. That’s it!